

Create a pipeline
Connect GitHub, GitLab or Bitbucket, pick a repository and a starting point, review the pipeline file and save it as a commit, a pull request or a draft.
A new pipeline takes four steps: connect a repository, choose a starting point, review the YAML and
choose where the file lives. The file is saved as .infraista/pipeline.yml in the repository.
Before you start: you need permission to manage pipelines (Owners, Admins and Developers by default). Managed runners are billed per minute after the monthly free minutes; see Runners and billing.
1. Connect a repository
Go to Pipelines and select New pipeline. Under Git provider, pick a tab:
| Provider | How you connect | Repositories you see |
|---|---|---|
| GitHub | Connect GitHub installs the Infraista app on the account or organization you choose | The ones you gave the app access to |
| GitLab | Connect GitLab opens gitlab.com's consent screen; select Authorize | Projects where you're a Maintainer or Owner |
| GitLab self-managed | Enter your Instance address (https, reachable from the internet) and an Access token with the api scope | Projects the token can reach |
| Bitbucket | Connect Bitbucket opens Bitbucket's consent screen | Repositories where you're an Admin |
For self-managed GitLab, a group access token (role Maintainer) is best: it keeps working when people leave.
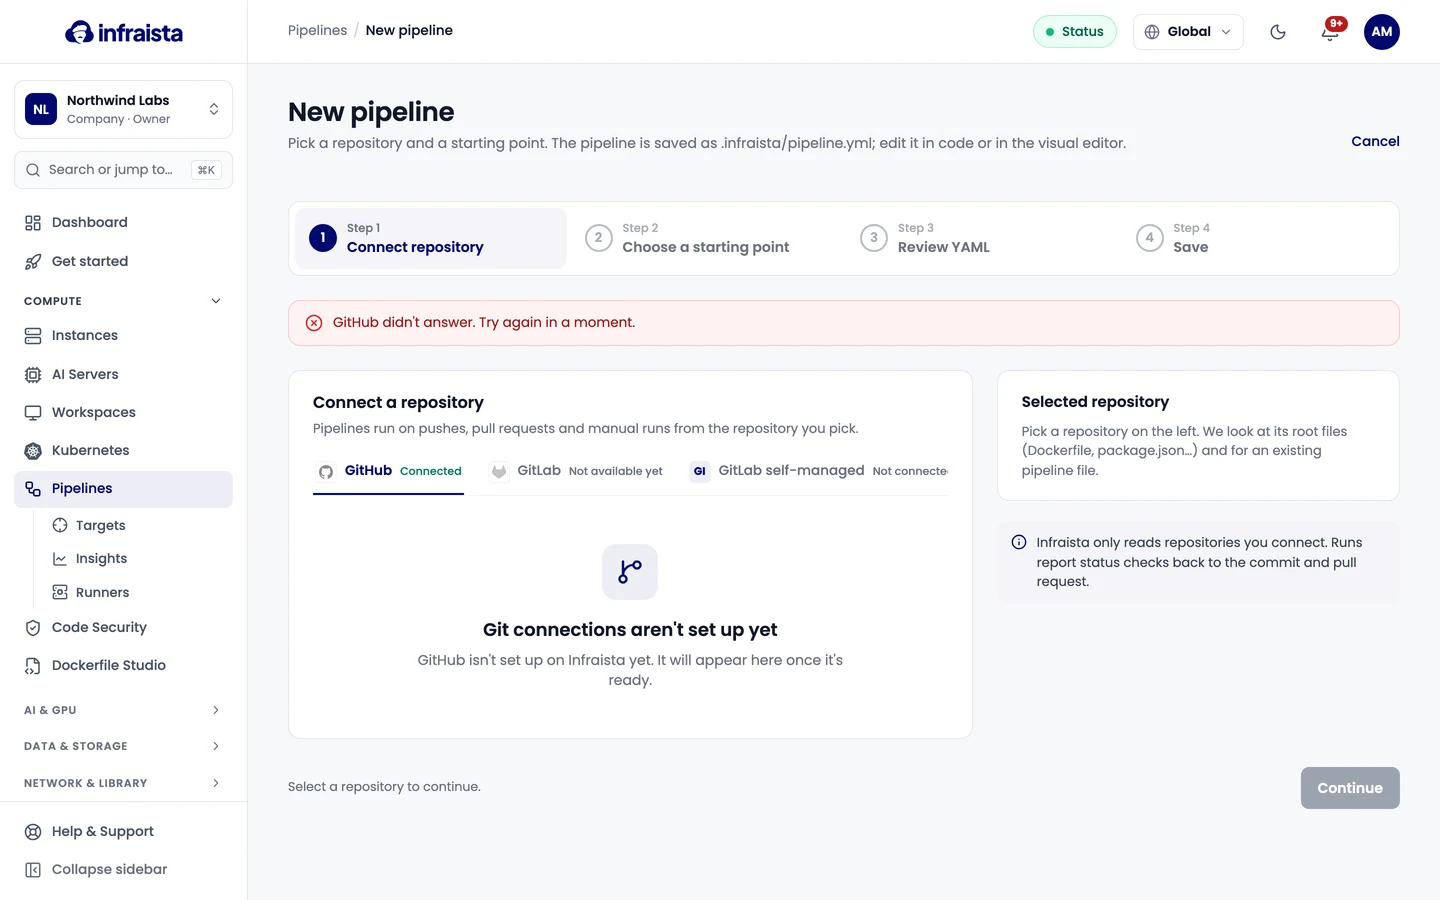
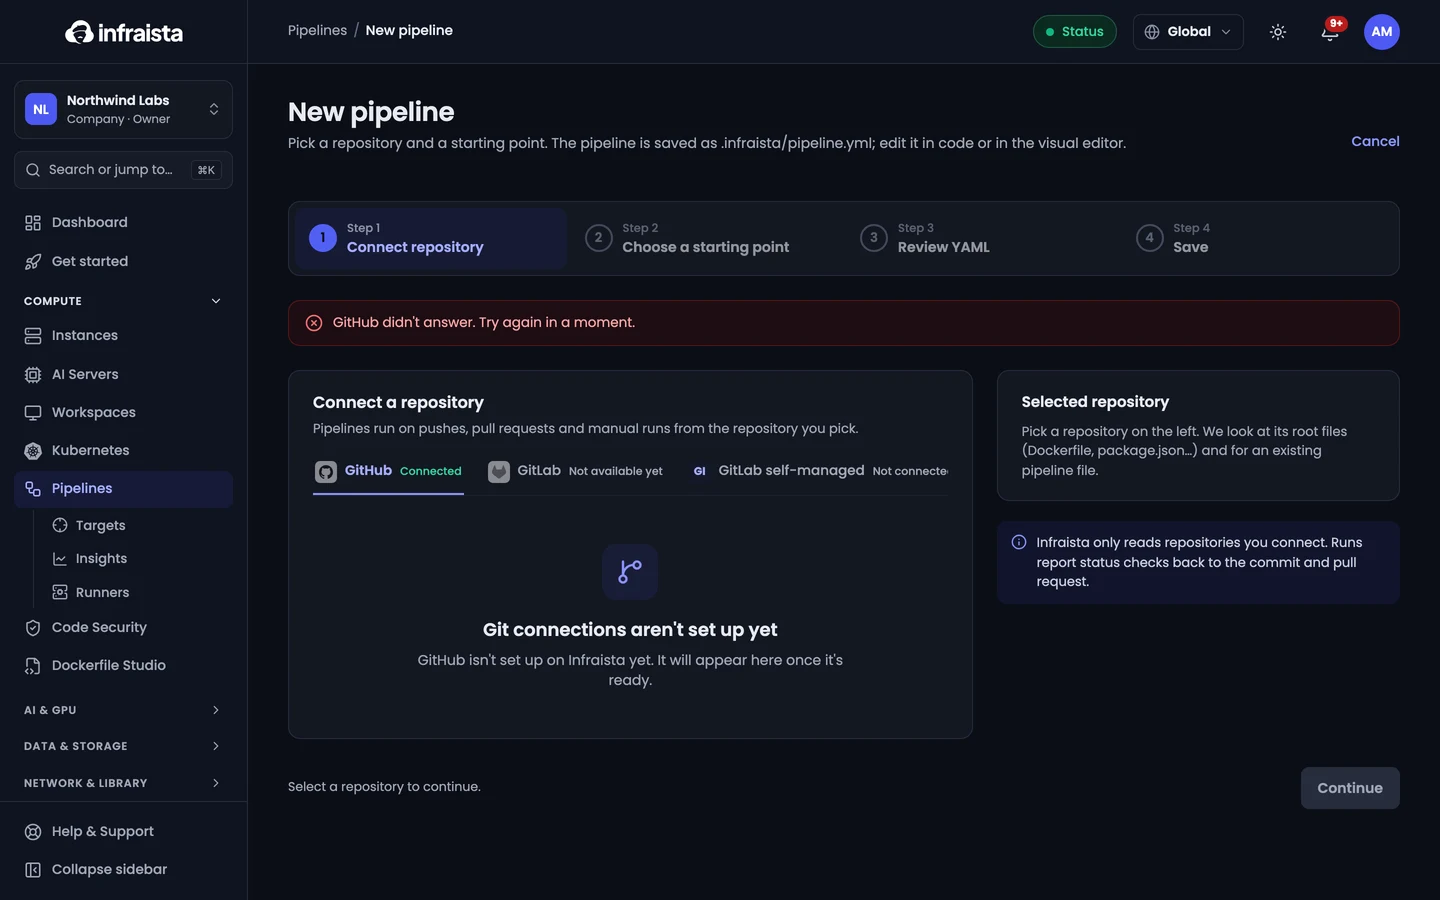
Then select the repository. Infraista looks at its root files (Dockerfile, package.json and so on) and for an existing pipeline file. Missing a GitHub repository? Select Change which repositories Infraista can read in your GitHub settings.
When the pipeline is created, Infraista adds a webhook to the repository so pushes and pull requests start runs (on GitHub, the app's own webhook does this).
2. Choose a starting point
- Use the pipeline file in this repo if
.infraista/pipeline.ymlalready exists. - Start from a template: plain YAML you can change later. A Suggested template matches what was found in the repository.
| Template | What it does |
|---|---|
| Node.js, Python, Go | Install, lint or vet, and test |
| Docker image | Build the repository's Dockerfile and push the image (to your Container Registry, with no secrets, when you have one) |
| Deploy to a server over SSH | On every push to the default branch, copy the code to your server and run your deploy commands |
| Build an image, deploy it over SSH | Build and push the image, then pull and run it on your server |
| Build an image, run it as containers on a server | Run the image as an API on a port, a worker and a scheduler, with migrations in between |
| Build and deploy per branch | main to production, staging and dev to their own servers |
| Deploy with a deploy agent | For a server Infraista can't reach over SSH |
| Test, then build | Parallel checks in a test stage, then a build stage that waits for them |
| Start from scratch | One job that checks out the code and runs a command |
The image templates that use your Container Registry appear once you have one.
If the template builds a Docker image and the repository has no Dockerfile, you can have Dockerfile Studio write one and include it in the same pull request.
3. Review the YAML
The file opens in the editor, in Visual (stages as columns and jobs as cards) or YAML view. It's checked as you type, with errors on their lines. Under Key settings:
- Pipeline name: letters, digits, dots, dashes and underscores. It's shown on commits as
infraista/<name>. - Runner size: the default for jobs that don't name one.
- When it runs: Run on push to, Pull requests into, and Nightly at 02:00 UTC.
The pipeline file reference explains every key.
4. Choose where the file lives
| Option | What happens |
|---|---|
| Test first, commit later (recommended) | Nothing is written to the repository yet. Run the file from the editor with Test run, and commit it from there when it works |
| Commit to the repo on a new branch and open a pull request | Your team reviews the file like any change. The first run starts on the pull request |
| Commit directly to the default branch | Fastest. The pipeline runs right away if the file runs on pushes to that branch |
Select Create pipeline (or Save and open the editor for a draft).
Check that it worked
The pipeline appears under Pipelines. Its first run starts with the next push or pull request the file matches, or select Run pipeline to start one now. See Runs and logs.
Test changes before committing
Open the pipeline's Editor tab, change the file and select Test run. It runs the editor's text on the latest commit of a branch, without committing anything:
- By default deploy steps don't deploy: each checks that its target exists and is reachable instead, image builds don't push, and jobs don't use environments (so no approvals).
- Turn deploys on to run the file exactly as written.
Test runs don't report a status on the commit. Saving from the editor commits to the branch or opens a pull request, like step 4.
If something goes wrong
- "That GitHub installation is already connected to another Infraista account." Each installation belongs to one organization. Install the app on another account, or disconnect it in the other organization first.
- A self-managed GitLab instance isn't accepted. It must use https and be reachable from the internet.
- No runs start. Check the triggers in the file match the branch you pushed to, and that the commit
message doesn't contain a skip marker such as
[skip ci]. See Triggers.
Related
Pipelines
Build, test and deploy from your repositories with a YAML file. Each job runs in a fresh container on a managed runner or on your own machines.
Pipeline file reference
Every key of .infraista/pipeline.yml, from triggers, inputs and stages to jobs, steps, conditions, built-in variables and the options of each built-in action.