

Create your account
Sign up for Infraista, choose a personal or organization account, and finish the four setup steps so you can start deploying.
An Infraista account takes about two minutes to set up. Once the four setup steps are done, you can create servers and every other service.
Personal or organization?
You choose an account type when you sign up:
| Account type | Best for | Billing |
|---|---|---|
| Personal | You and your own projects | In your name |
| Organization | A company or team: invite teammates, share billing, set roles | In the organization's name |
You can create an organization later from a personal account too, so pick whichever fits today. See Organizations.
Sign up
- Go to console.infraista.com/signup.
- Under Account type, select Personal or Organization.
- Enter your Full name, Email address and Country. The country is pre-filled from your browser's language; change it if it's wrong.
- Select Continue.
- Choose a Password and type it again in Confirm password. It needs at least 8 characters, with an uppercase letter, a lowercase letter and a number.
- Tick the box to agree to the Terms of Service and Privacy Policy, then select Create account.
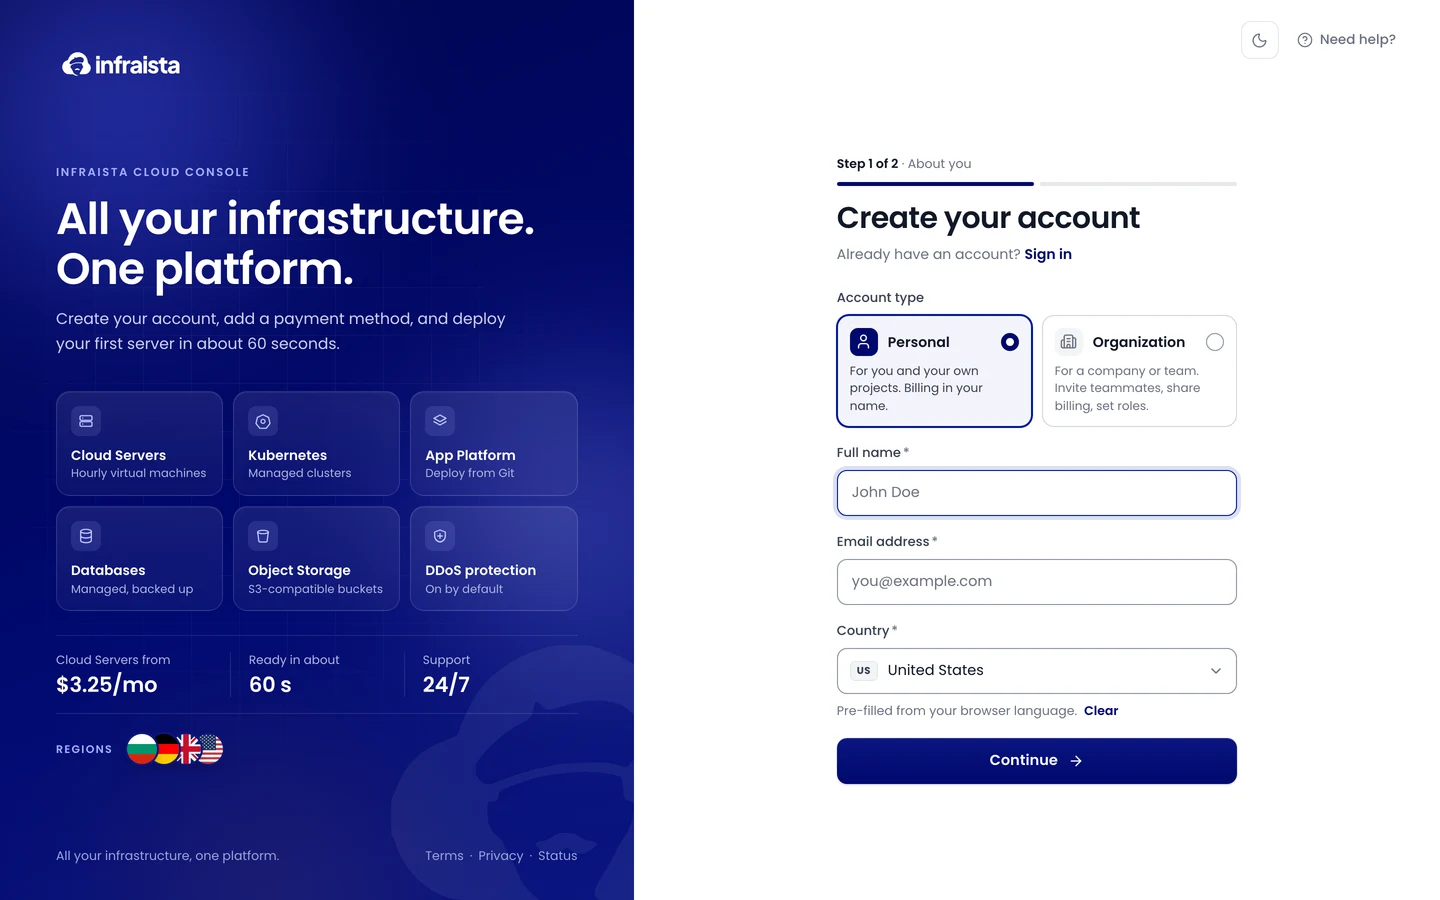
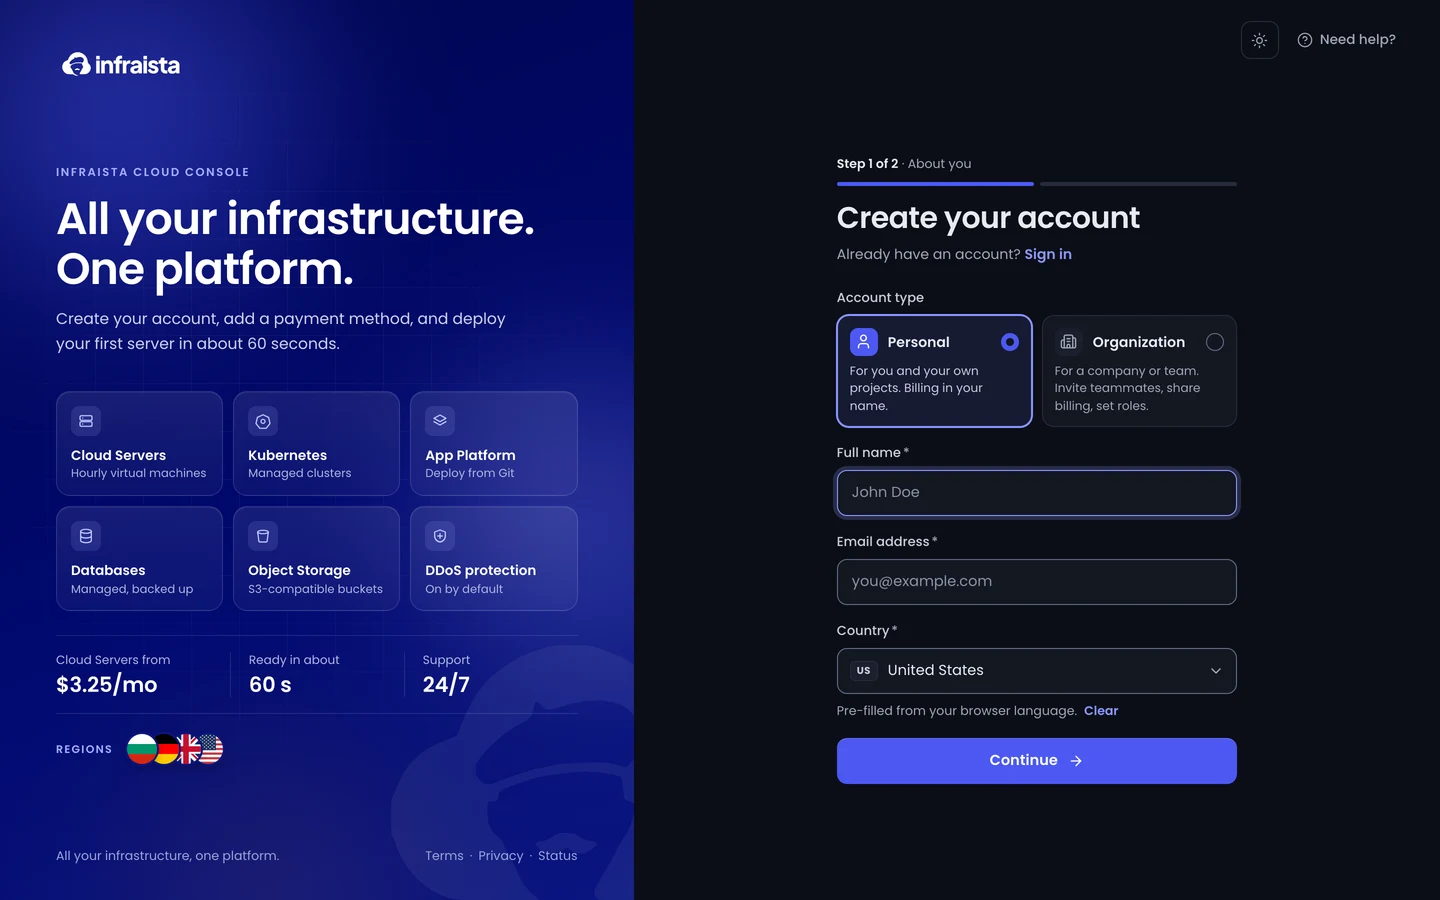
If you were invited by a teammate, open the link in the invitation email instead. Your email is already filled in, and you join their organization as soon as your account exists.
Finish the setup steps
After sign-up, the console shows Let's get your account ready. Complete the four steps in any order:
| Step | What you enter |
|---|---|
| Your details | Your name, phone number and country |
| Billing address | Where your invoices are addressed (an organization's legal name and address) |
| Payment method | A card for hourly usage. Card details are handled by Stripe; Infraista never sees the full number |
| Verify your email | Open the link we email you. It works for 60 minutes |
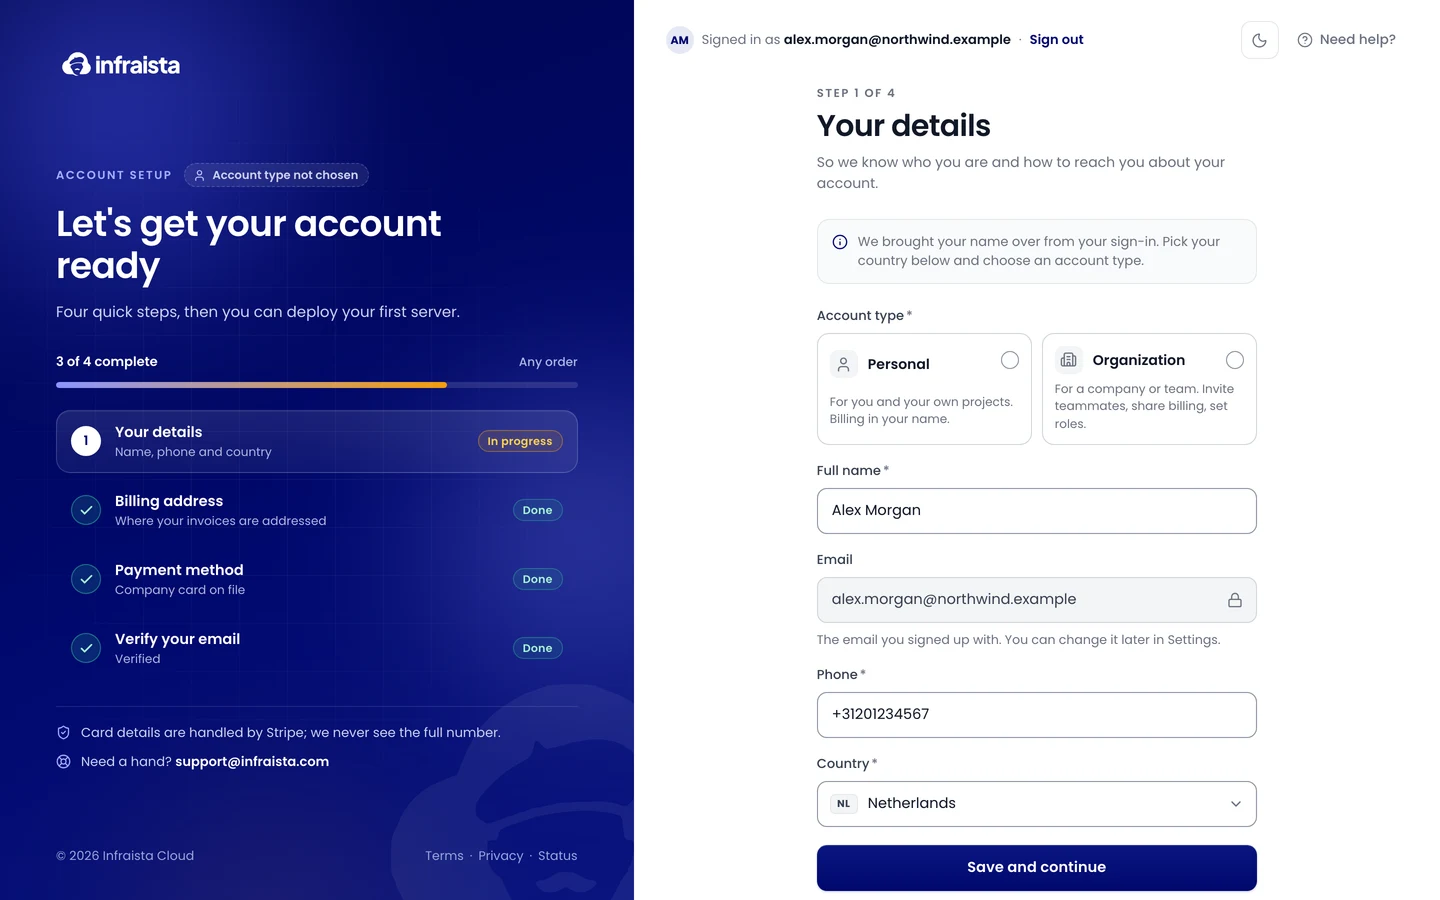
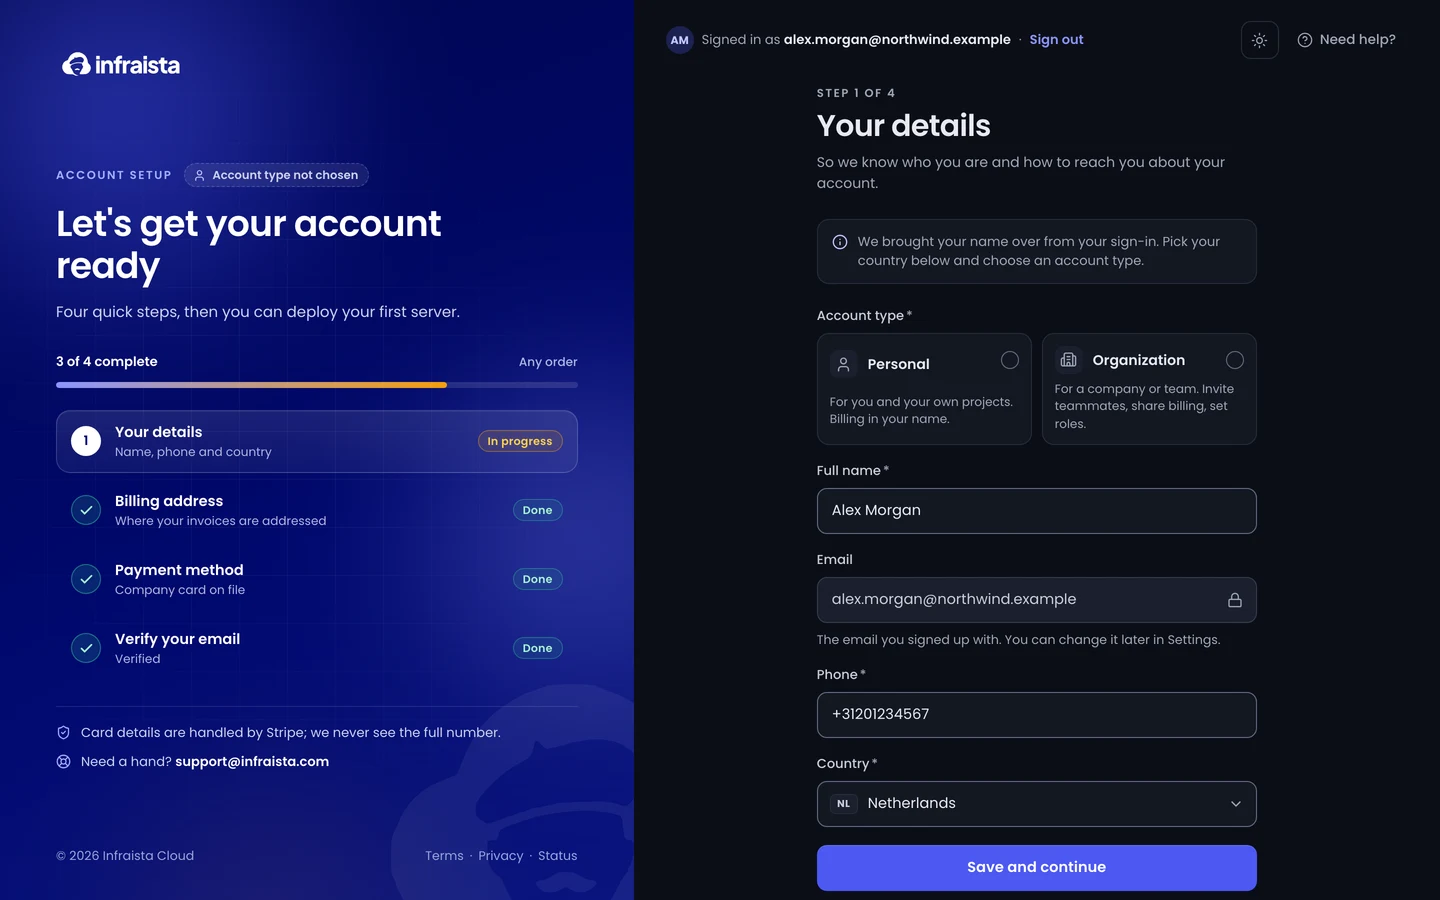
You're charged only for what you use, on a monthly invoice. Saving a card doesn't charge it.
Check that it worked
When all four steps show Done, the console opens your dashboard. You can now create your first server.
If something goes wrong
- "The email has already been taken." You, or someone on your team, already has an account with that email. Select Sign in instead, or use a different email.
- The verification link has expired. Links work for 60 minutes. Sign in and the console offers to send a fresh one.
- The invitation has expired. Ask your teammate to send a new one from Settings › Team. You can also create an account without it and be invited again later.