

Create a cloud server
Launch a cloud server (instance) in about a minute. Pick a size, an operating system and a location, add your SSH key and choose hourly or monthly billing.
A cloud server (an instance) is a virtual machine with its own public IP address. You get full root access and pay by the hour, or a fixed price per month.
Before you start: your account setup must be complete, including a payment method (Create your account). To log in with a key, add one first (Connect to your server) or add it during step 4.
Create the server
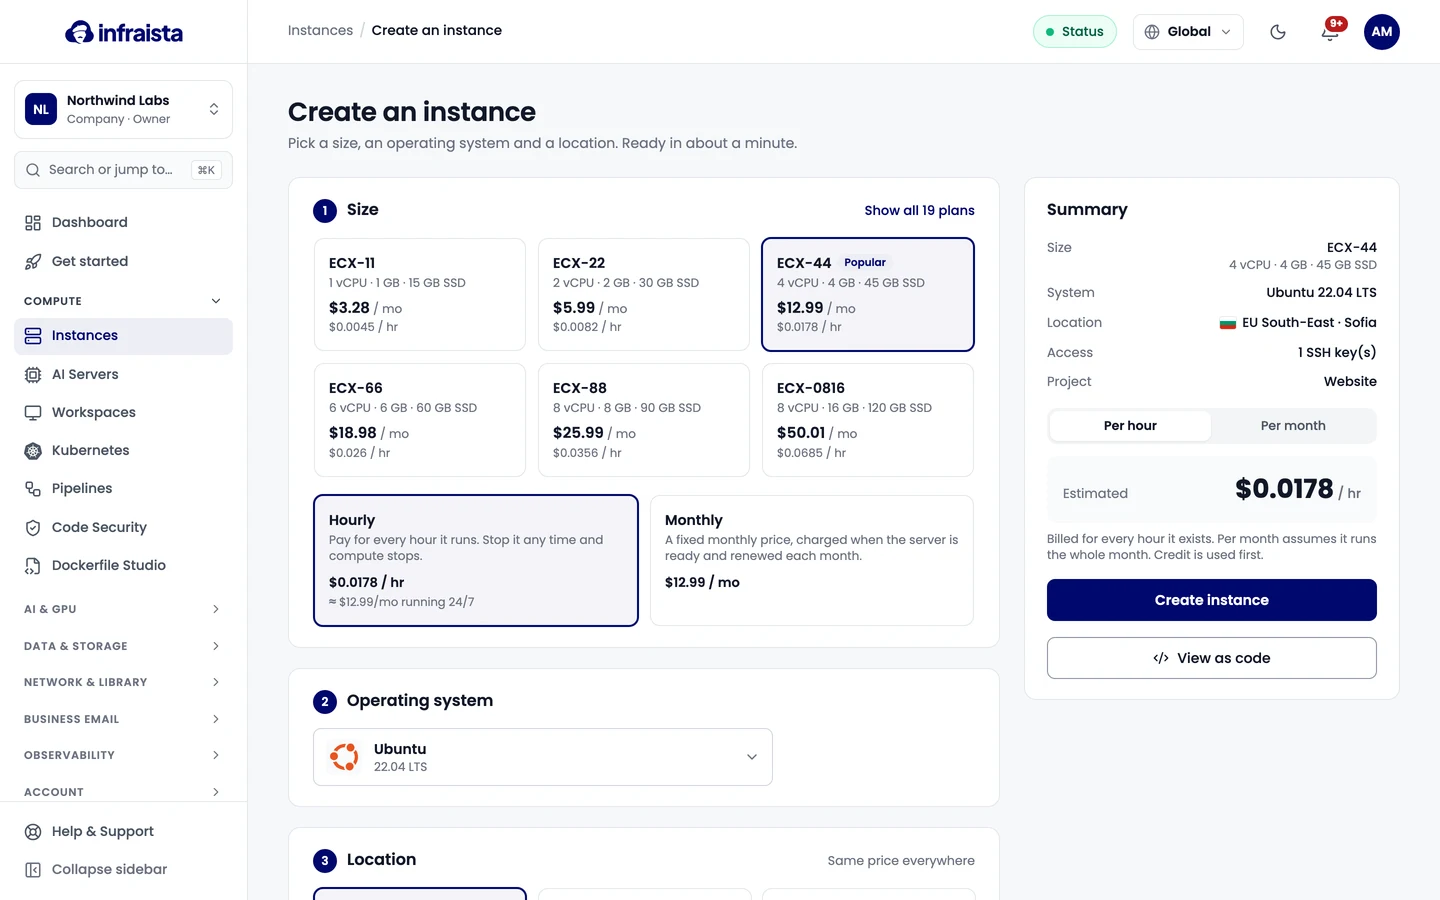
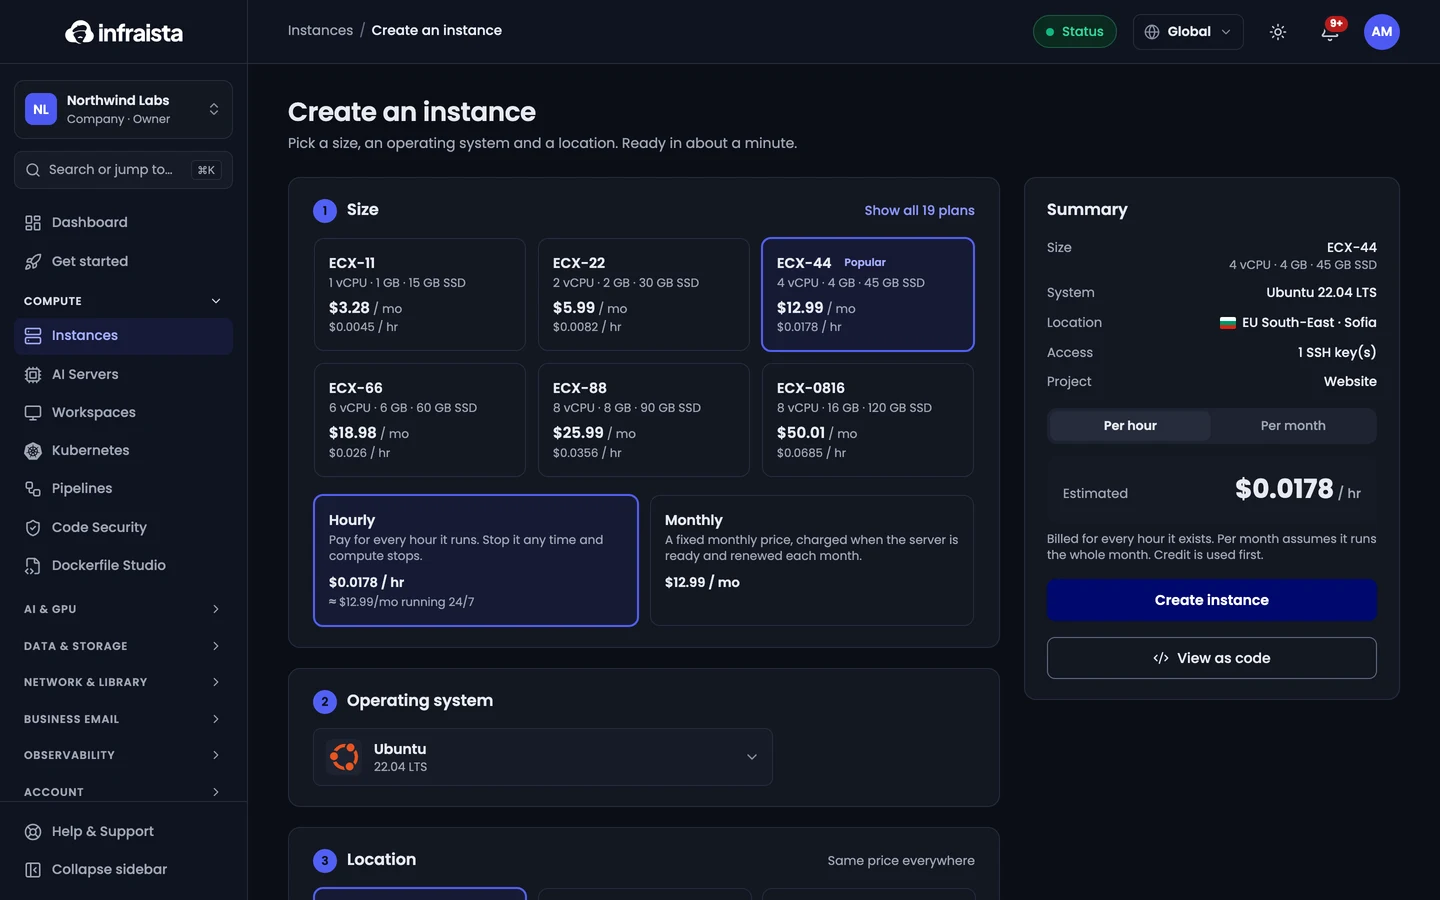
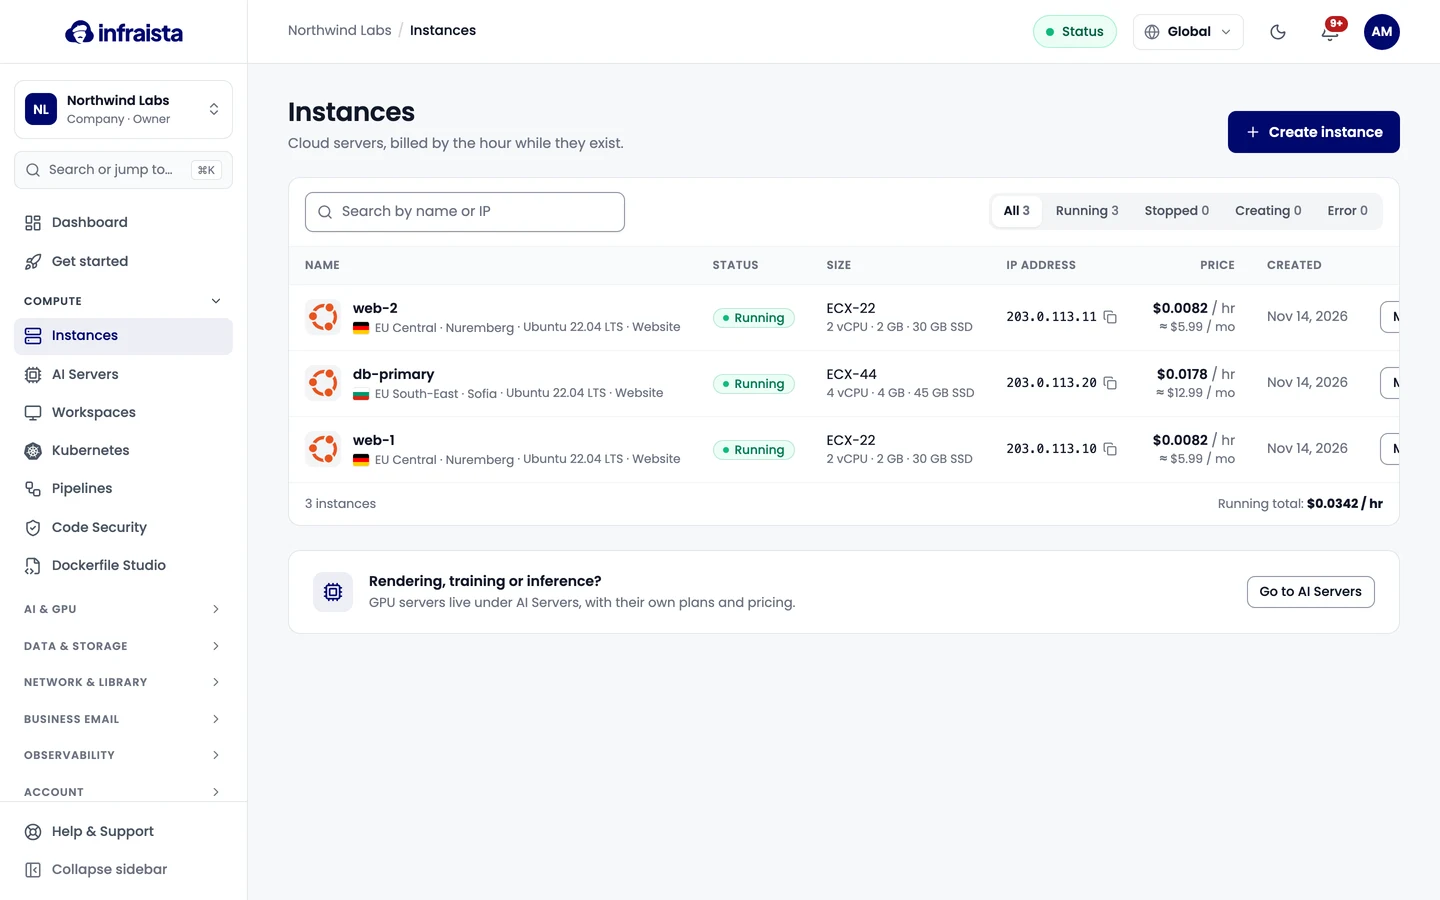
Go to Compute › Instances and select Create instance (or Create › Instance on the dashboard). The page has five steps, with a live summary on the right.
1. Size
Choose how much CPU, memory and disk the server gets. The most common sizes show first; Show all plans lists every size.
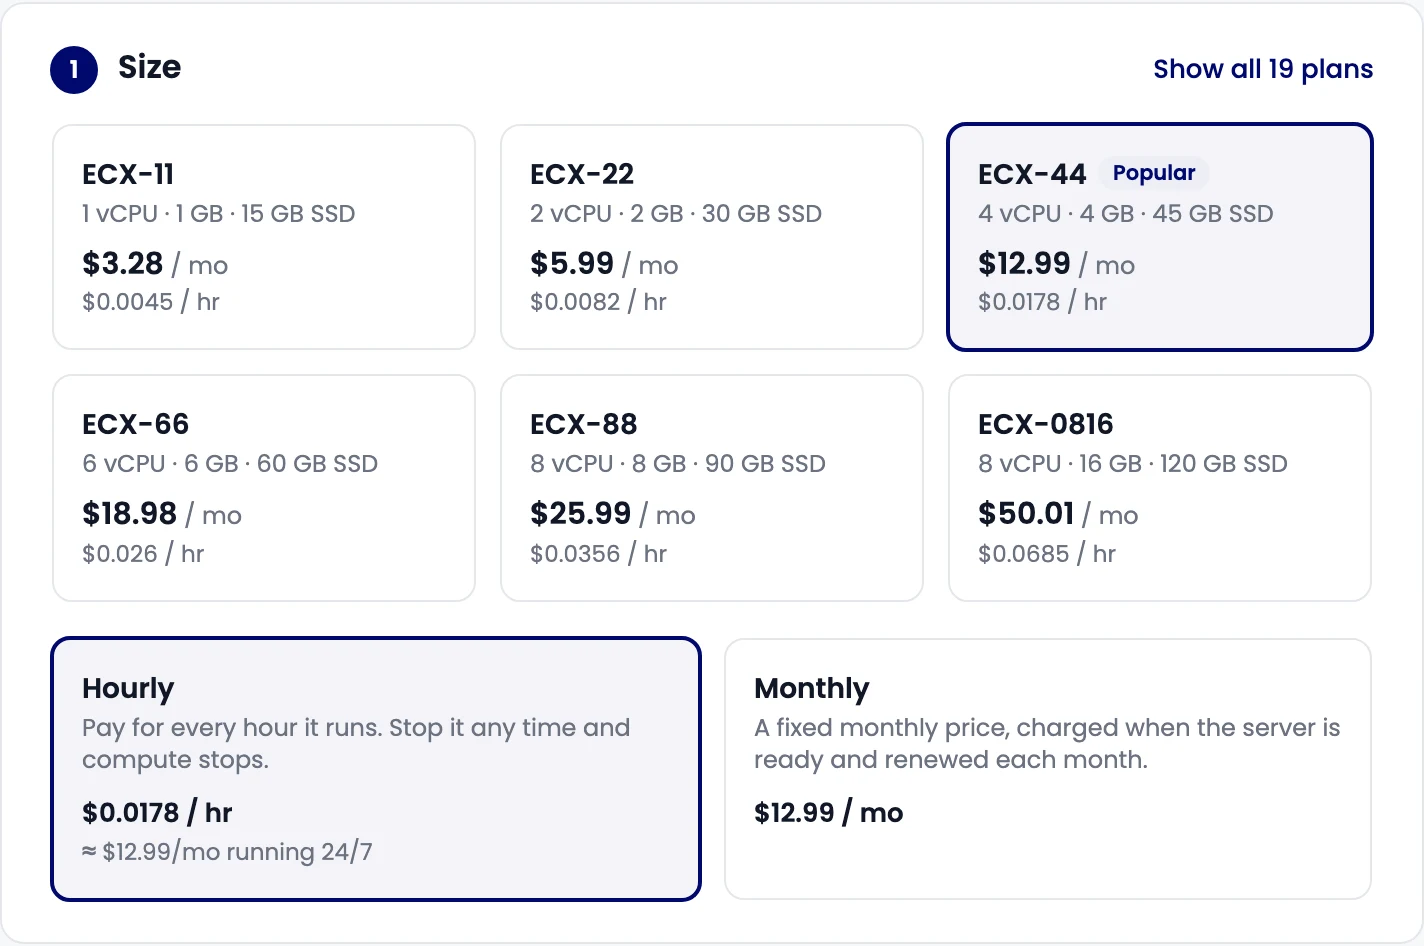
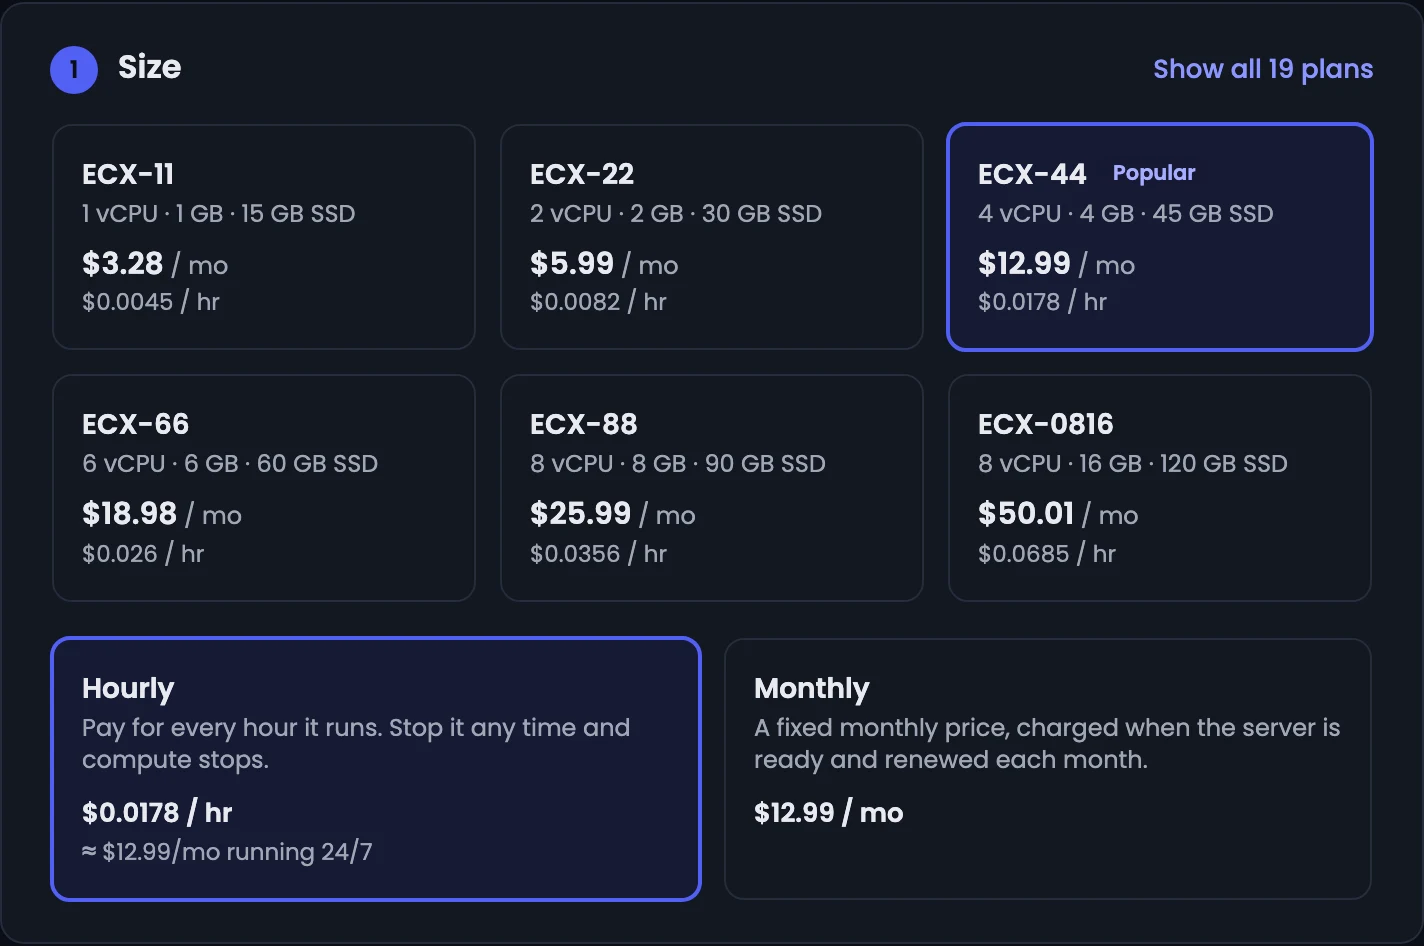
Then choose how you pay:
- Hourly: pay for every hour the server exists. Delete it any time and billing stops.
- Monthly: a fixed monthly price, charged when the server is ready and renewed each month. Cheaper if the server runs all month.
2. Operating system
Pick the operating system and version, for example Ubuntu 22.04 LTS.


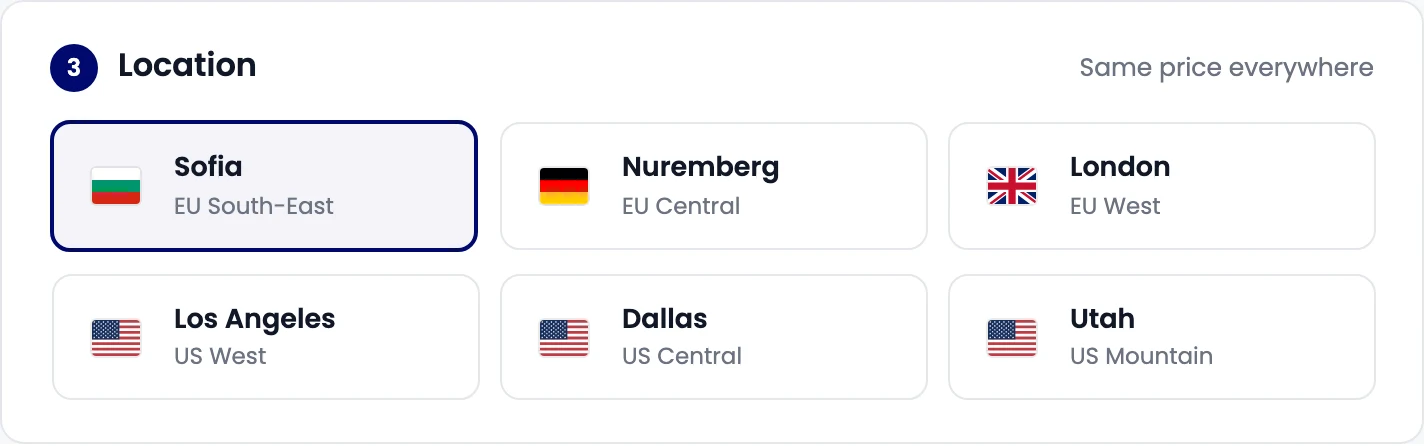
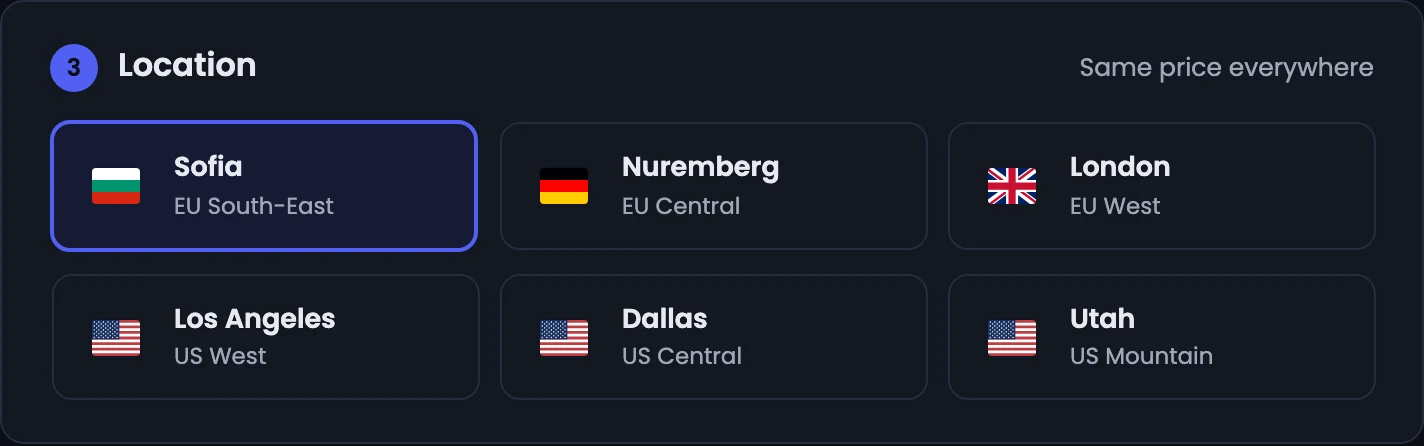
3. Location
Pick the region the server runs in. Choose the one closest to your users. Prices are the same everywhere. See Regions and data locations.
4. Access
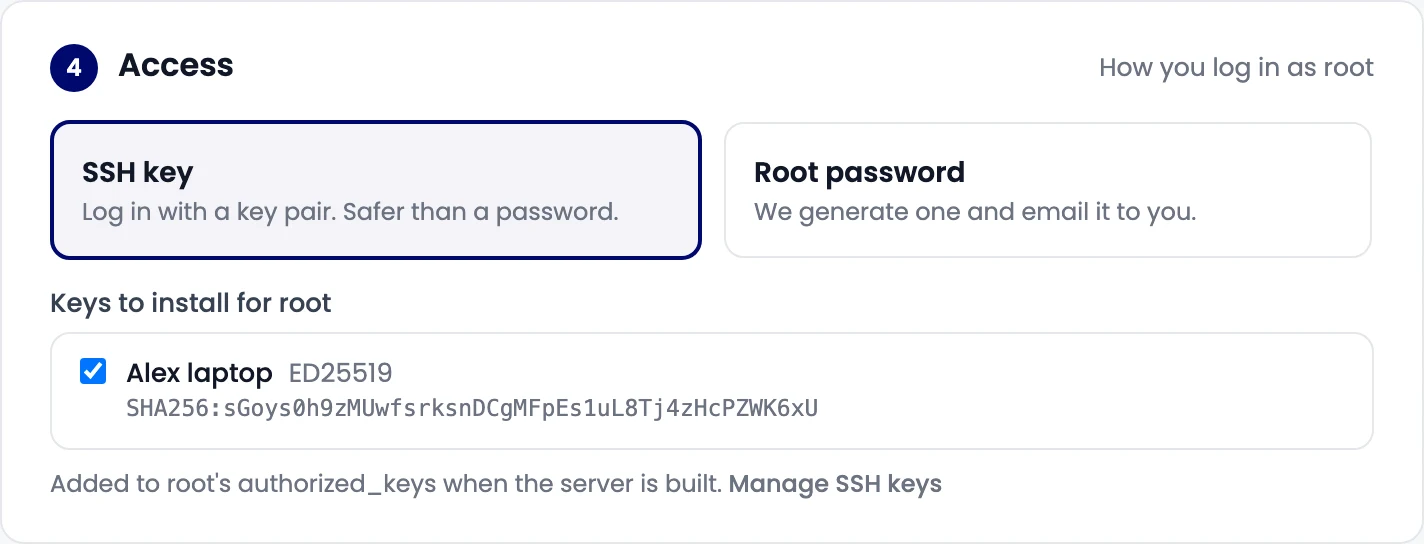
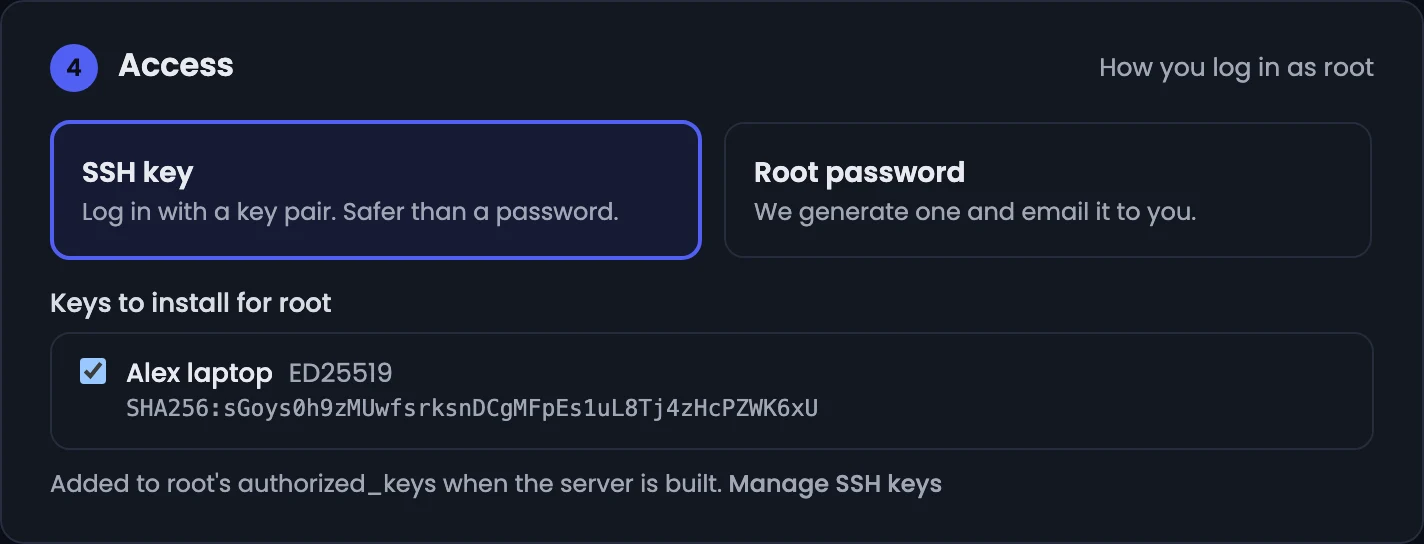
Choose how you log in as root:
- SSH key (recommended): tick the keys to install. They're added to root's
authorized_keyswhen the server is built. - Root password: we generate a strong password and email it to you.
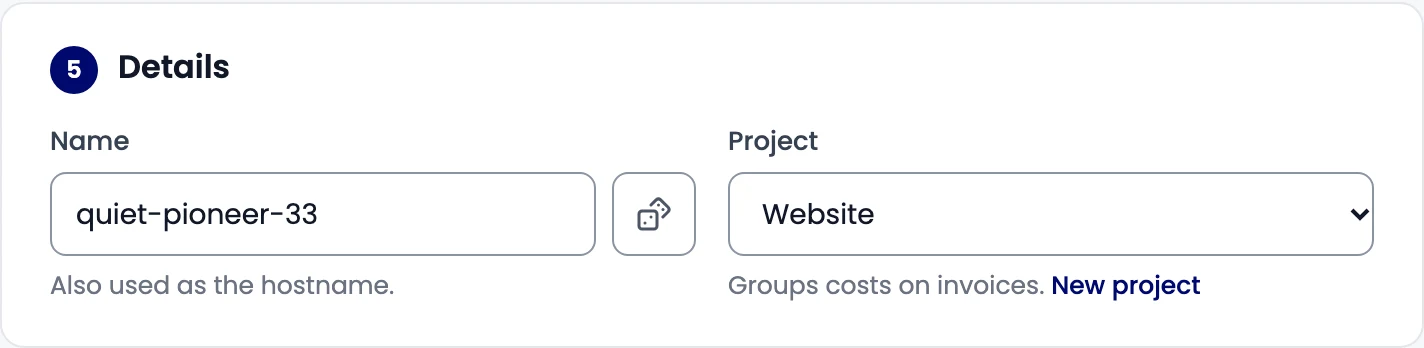
5. Details
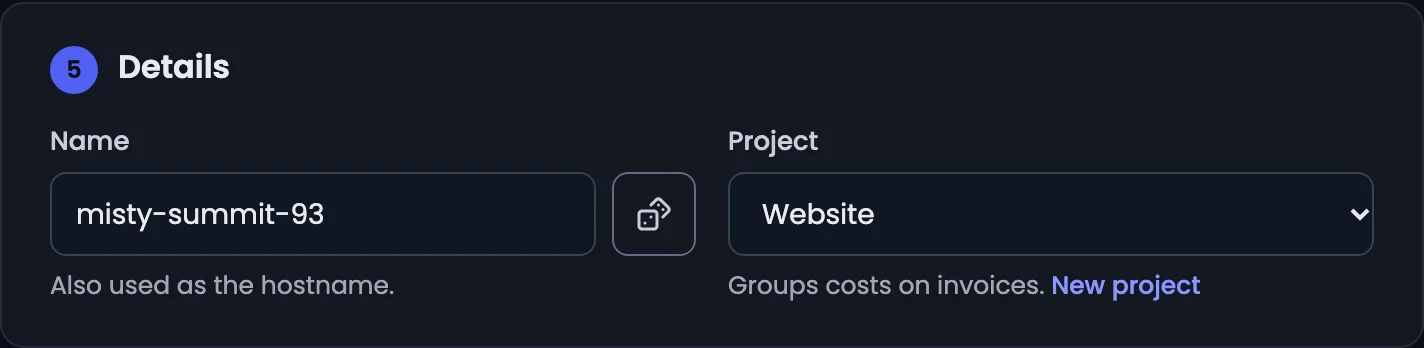
- Name: also used as the server's hostname. A random name is suggested; the button next to the field generates another.
- Project (optional): groups costs on your invoices. New project creates one.
Review and create
The Summary shows your choices and the estimated price per hour or per month. Select Create instance.
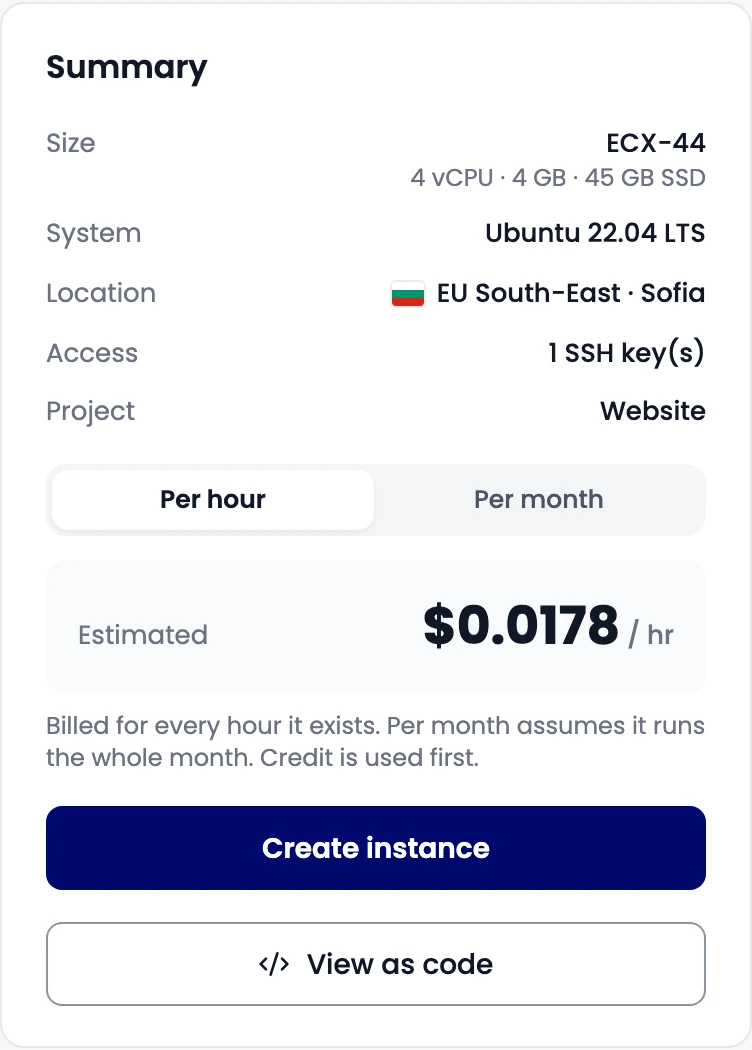
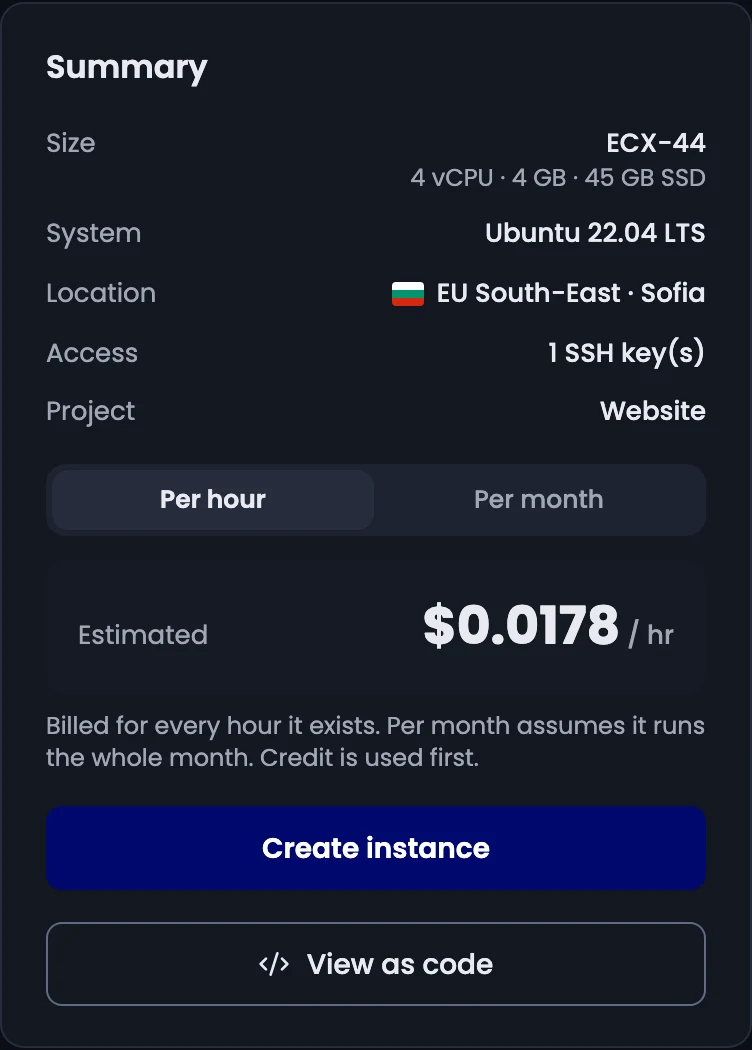
View as code shows the same request as an API call, so you can script it later.
Check that it worked
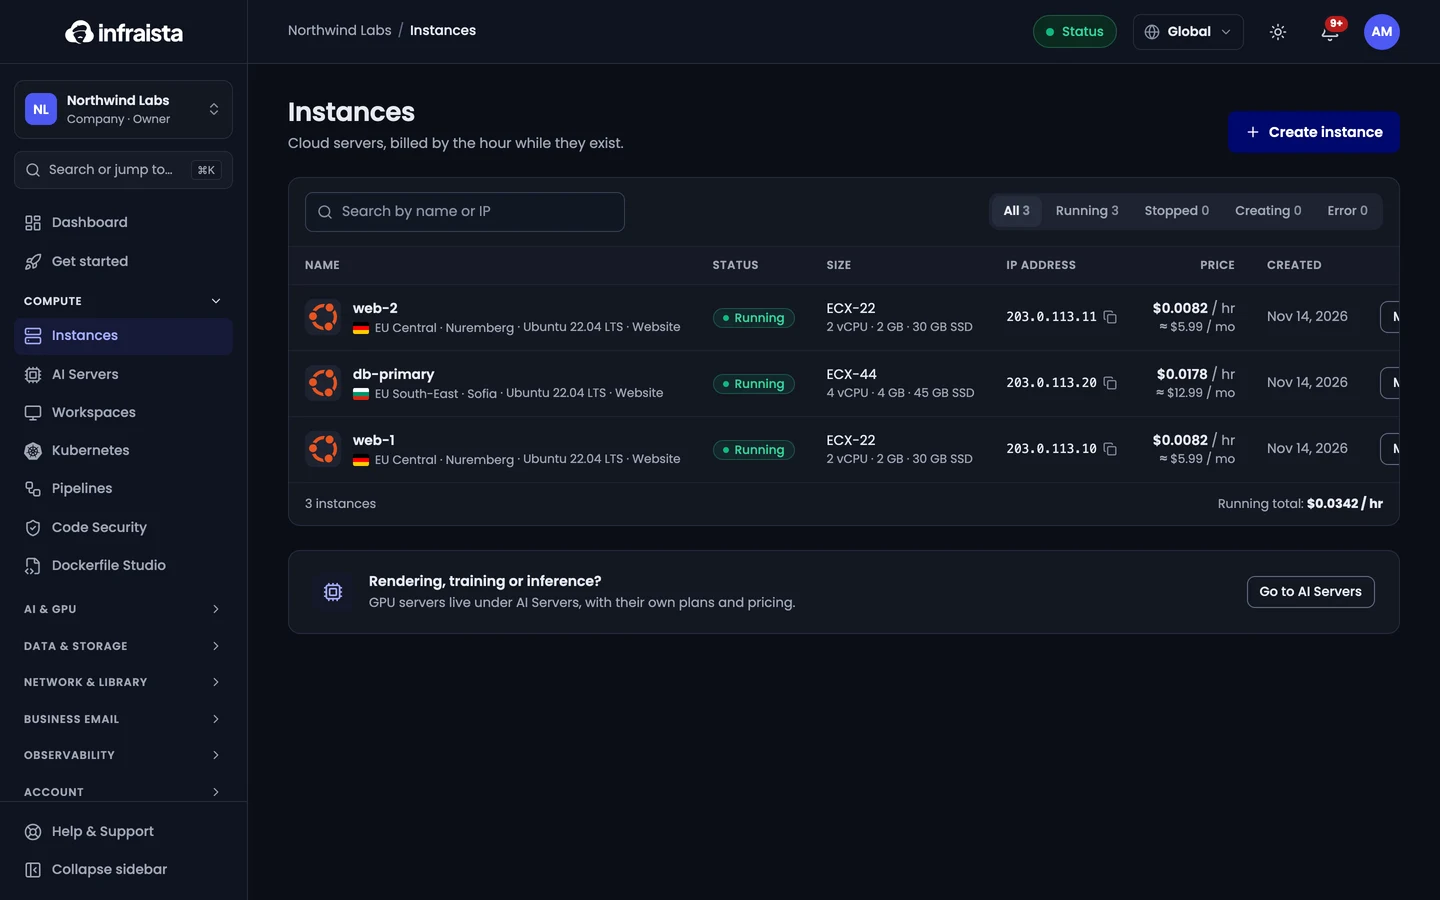
The server opens with status Creating and changes to Running in about a minute. Its page shows the IP address and the exact SSH command under Connect. The new server also appears in Compute › Instances.
If something goes wrong
- "Add a payment method to start deploying." Finish your account setup: add a card in Billing (Owners and Admins).
- A region is greyed out or marked On request. It needs approval first. See Request a restricted region.
- The server shows Failed. Delete it and try again, or contact us from Help & Support with the server's name.
Related
Regions and data locations
See where your organization can deploy, how restricted regions work, and how to request access to a region that opens on request.
Connect to your server
Add an SSH key to Infraista, log in to your server as root over SSH, use the browser console when SSH isn't available, and reset the root password.