

Create an AI server
Launch a dedicated GPU server in minutes. Pick a GPU plan, an operating system and a location, choose how you log in and how you're billed.
Before you start: your account setup must be complete, including a payment method (Create your account).
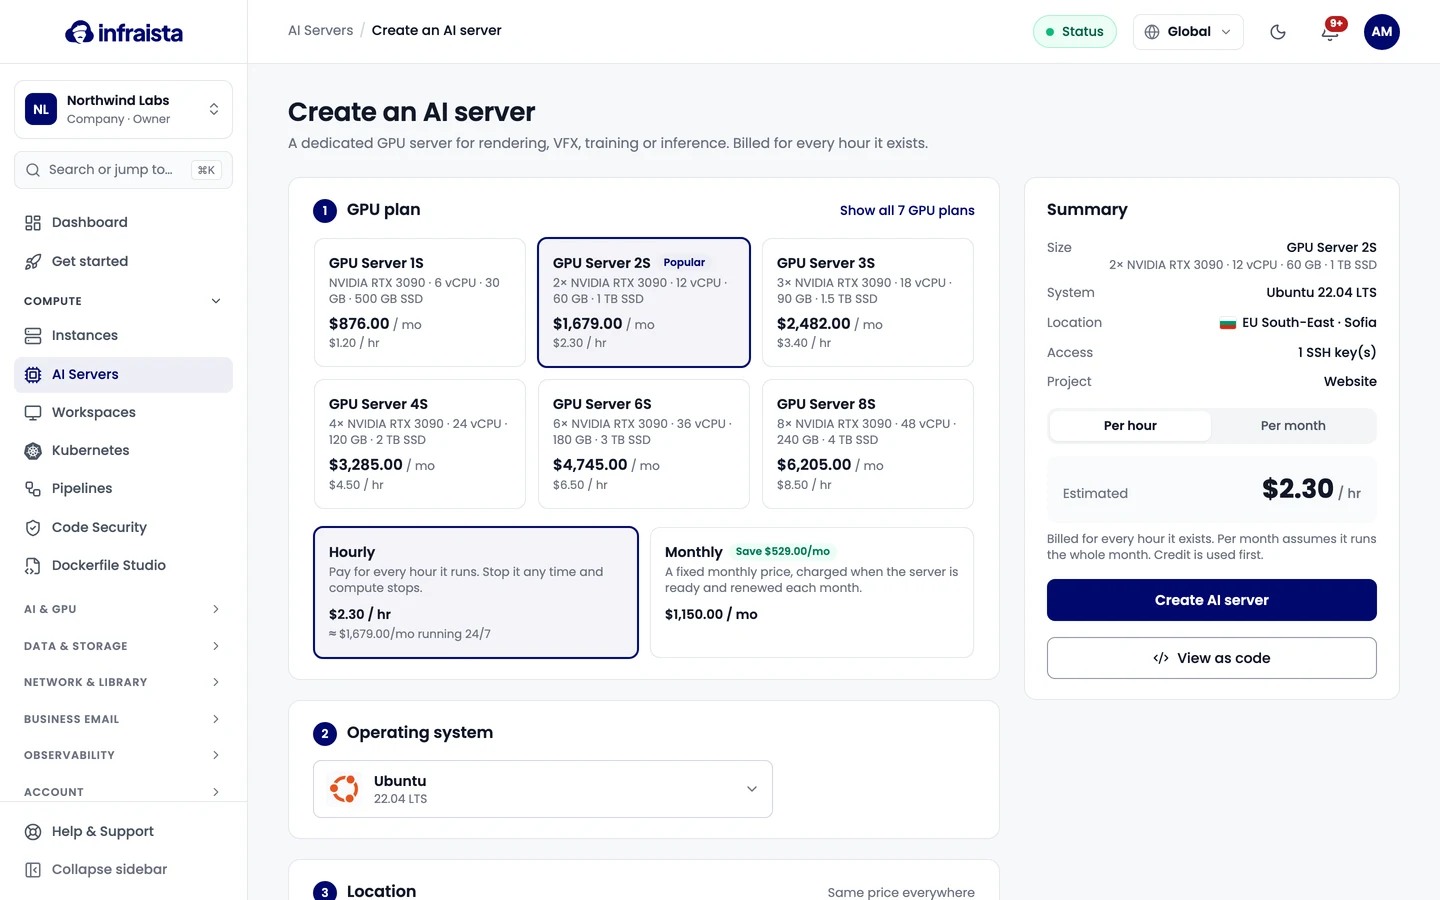
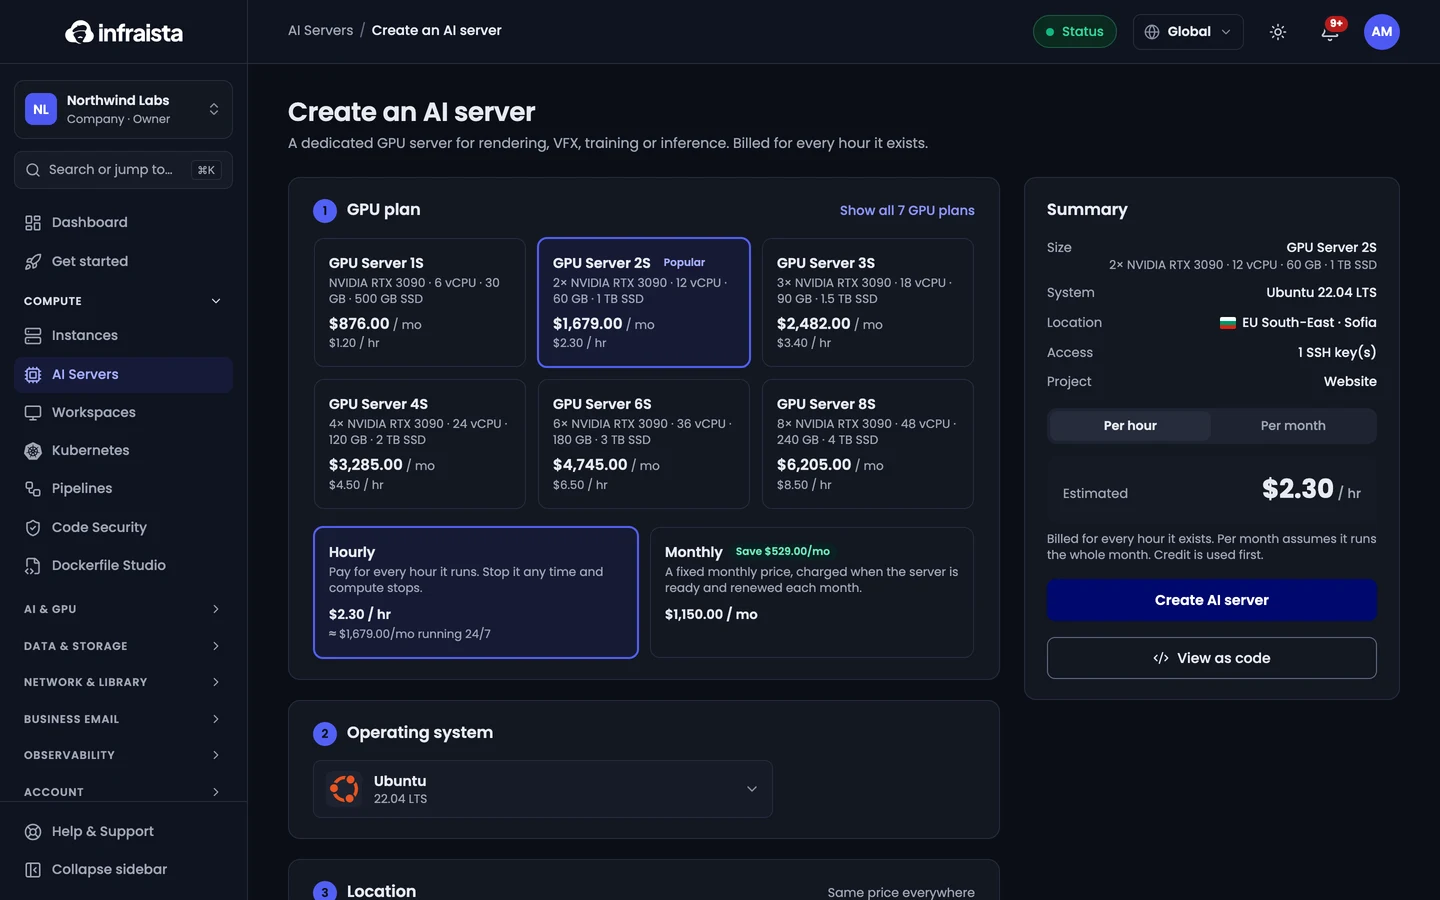
- Go to Compute › AI Servers and select Create AI server (or Deploy on a GPU package).
- GPU plan: pick the GPUs, CPU, RAM and disk. Show all GPU plans lists every plan.
- Choose Hourly or Monthly billing:
- Hourly: pay for every hour it runs. Stop it any time and compute stops.
- Monthly: a fixed monthly price, charged when the server is ready and renewed each month.
- Operating system: pick a Linux system or Windows. GPU drivers come pre-installed.
- Location: pick the region closest to you or your data.
- Access: an SSH key (recommended, Linux) or a Root password we generate and email you.
- Details: a Name (also the hostname) and, optionally, a Project.
- Check the Summary and select Create AI server.
The page shows the deployment's progress. You can leave it: the server keeps building and we email you when it's up. Billing starts once the server is running. If the deployment fails, you aren't charged for it.
Related
Choose a GPU package
Compare GPU packages by GPUs, VRAM, CPU, RAM, disk and network, and see their prices per hour, day, week or month before you deploy one.
Connect to an AI server
Log in to a GPU server over SSH on Linux or Remote Desktop on Windows, use the browser console, and move files over SFTP.