

Reserve a floating IP
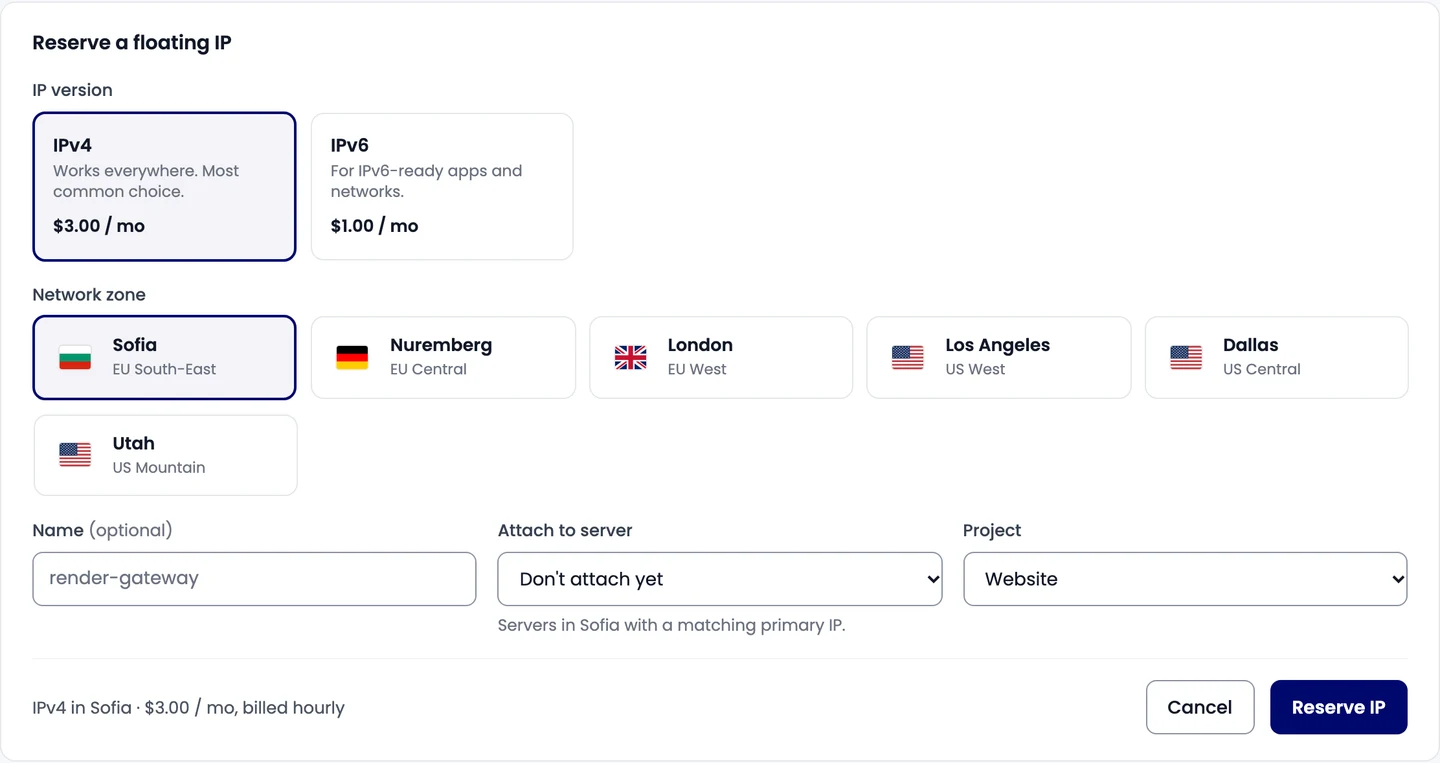
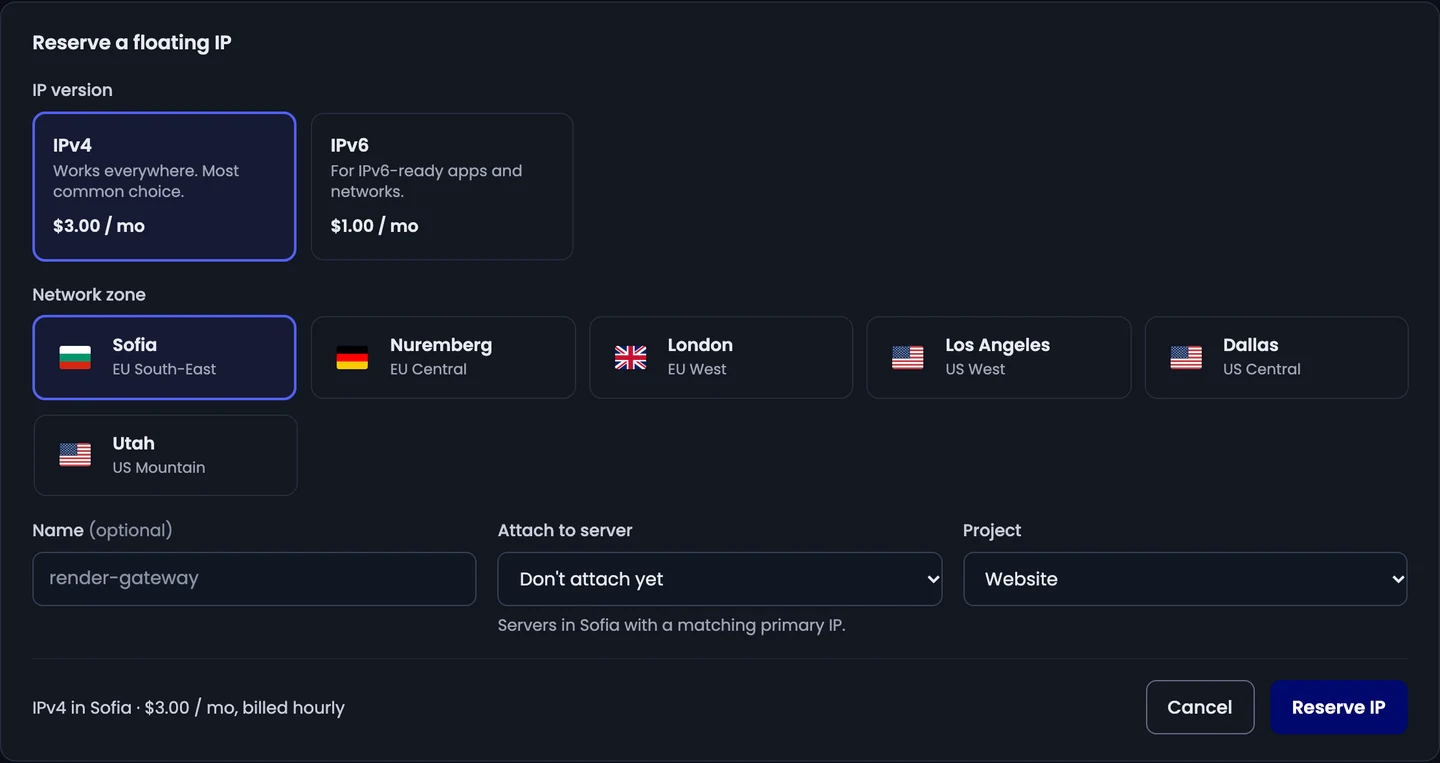
Reserve a public IPv4 or IPv6 address in a network zone, give it a name and optionally attach it to a server straight away.
Reserve a floating IP when you need an address that stays the same while the servers behind it change.
Before you start: you need a role that can manage floating IPs (Owner, Admin or Developer by default), and a payment method on the organization.
Reserve the address
- Go to Network & Library › Floating IPs and select Reserve IP.
- Choose the IP version:
- IPv4: works everywhere, the most common choice;
- IPv6: for IPv6-ready apps and networks.
- Pick the Network zone. The address can only be used by servers in the same zone.
- Enter a Name.
- Under Attach to server, pick a server, or Don't attach yet. Only servers in that zone with a primary IP of the same type are listed.
- Optionally pick a Project so the cost shows under it.
- Check the price in the summary and select Reserve IP.
Check that it worked
The new address appears in the list with its server under Attached to, or Not attached.
Start using the address on the server
When the address is attached to a server you created in Infraista, its page shows Start using this address:
-
Restart the server once, so its network settings include the address.
-
Or add the address inside the server, for example on Linux:
ip addr add 203.0.113.100/32 dev eth0 -
To keep it after a reboot, add it to the server's network configuration (netplan,
/etc/network/interfacesor NetworkManager).
Related
Floating IPs
A floating IP is a public address you reserve and can move between servers at any time, for stable endpoints and quick failover without changing DNS.
Move a floating IP
Assign a floating IP to a server, move it to another one for failover, or unassign it while keeping the address reserved for later.