

Create a bucket
Create an S3-compatible bucket in Infraista Object Storage. Pick a name and a region, choose private or public read access, and turn on versioning.
A bucket holds your objects. You pick its name and region once; access and versioning can be changed later.
Before you start: you need permission to create Object Storage buckets (Owners, Admins and Developers have it by default).
Create the bucket
- Go to Data & Storage › Object Storage and select Create bucket.
- Enter a Bucket name. It can't be changed later and must:
- be 3 to 63 characters long;
- use only lowercase letters, numbers, dots and dashes;
- start and end with a letter or number.
- Optionally pick a Project to group its costs on invoices.
- Pick the Region closest to the servers that read and write this data. The price is the same everywhere. The page shows the region's endpoint.
- Under Access, choose:
- Private (recommended): only requests signed with your keys can read or write.
- Public read: anyone with a link can download objects; writes still need a key.
- Under Data protection, turn on Versioning to keep every version when an object is overwritten or deleted, so you can restore it.
- Check the Summary and select Create bucket.
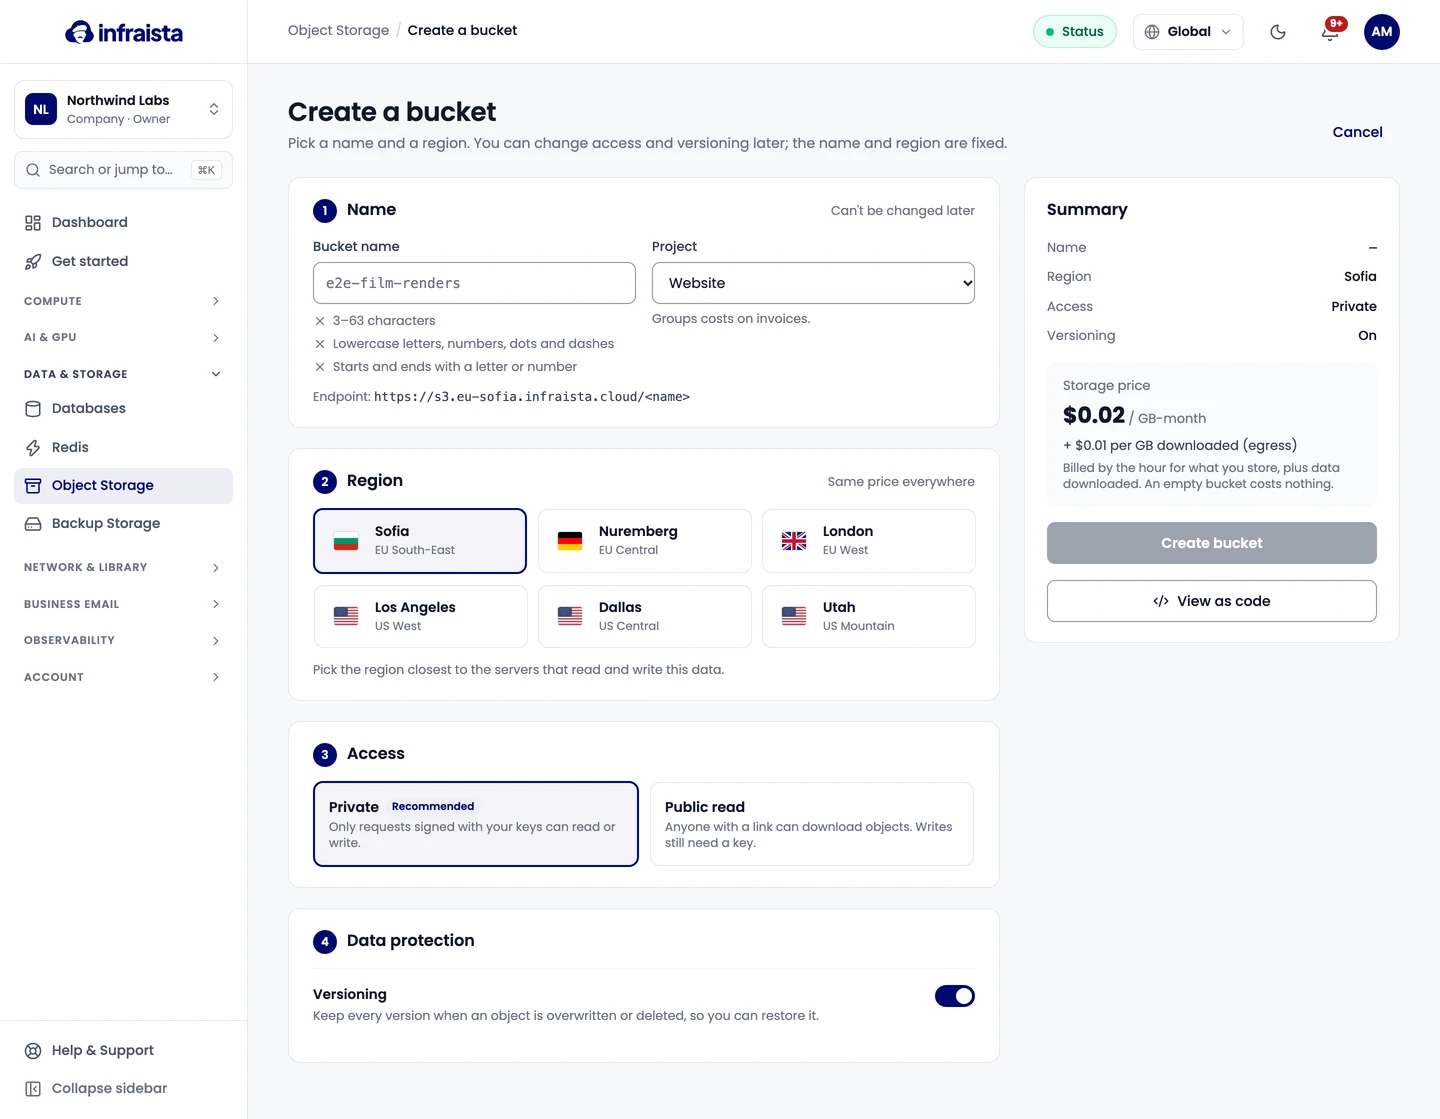
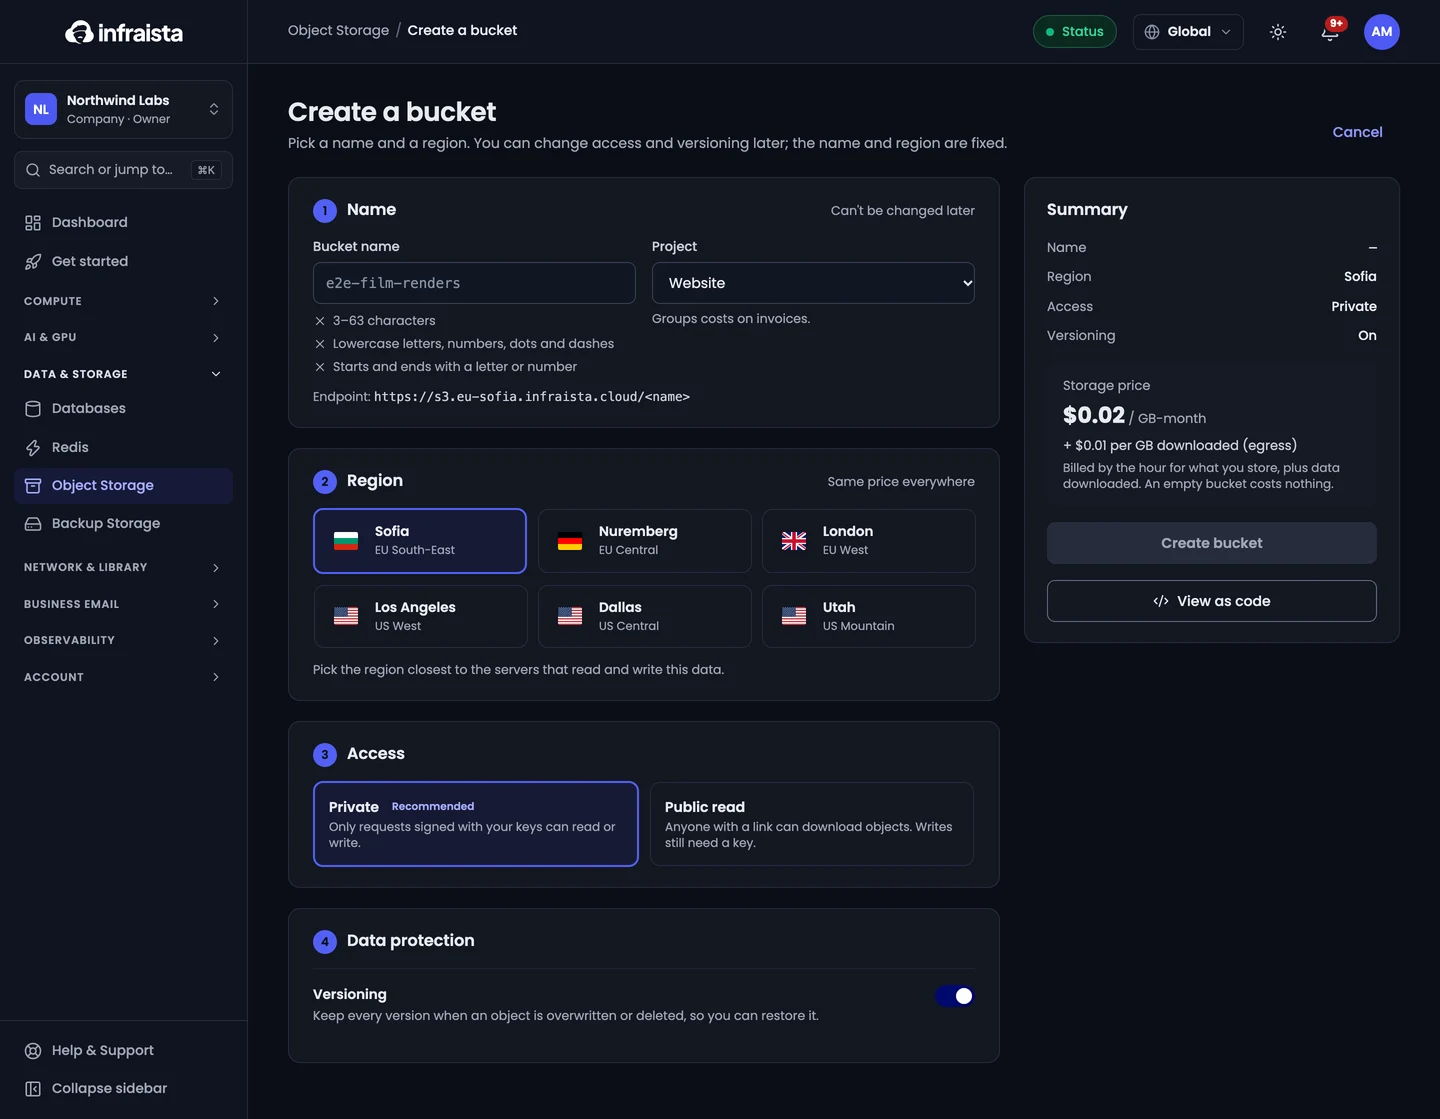
View as code shows the same request as an API call, updated as you change the options.
Check that it worked
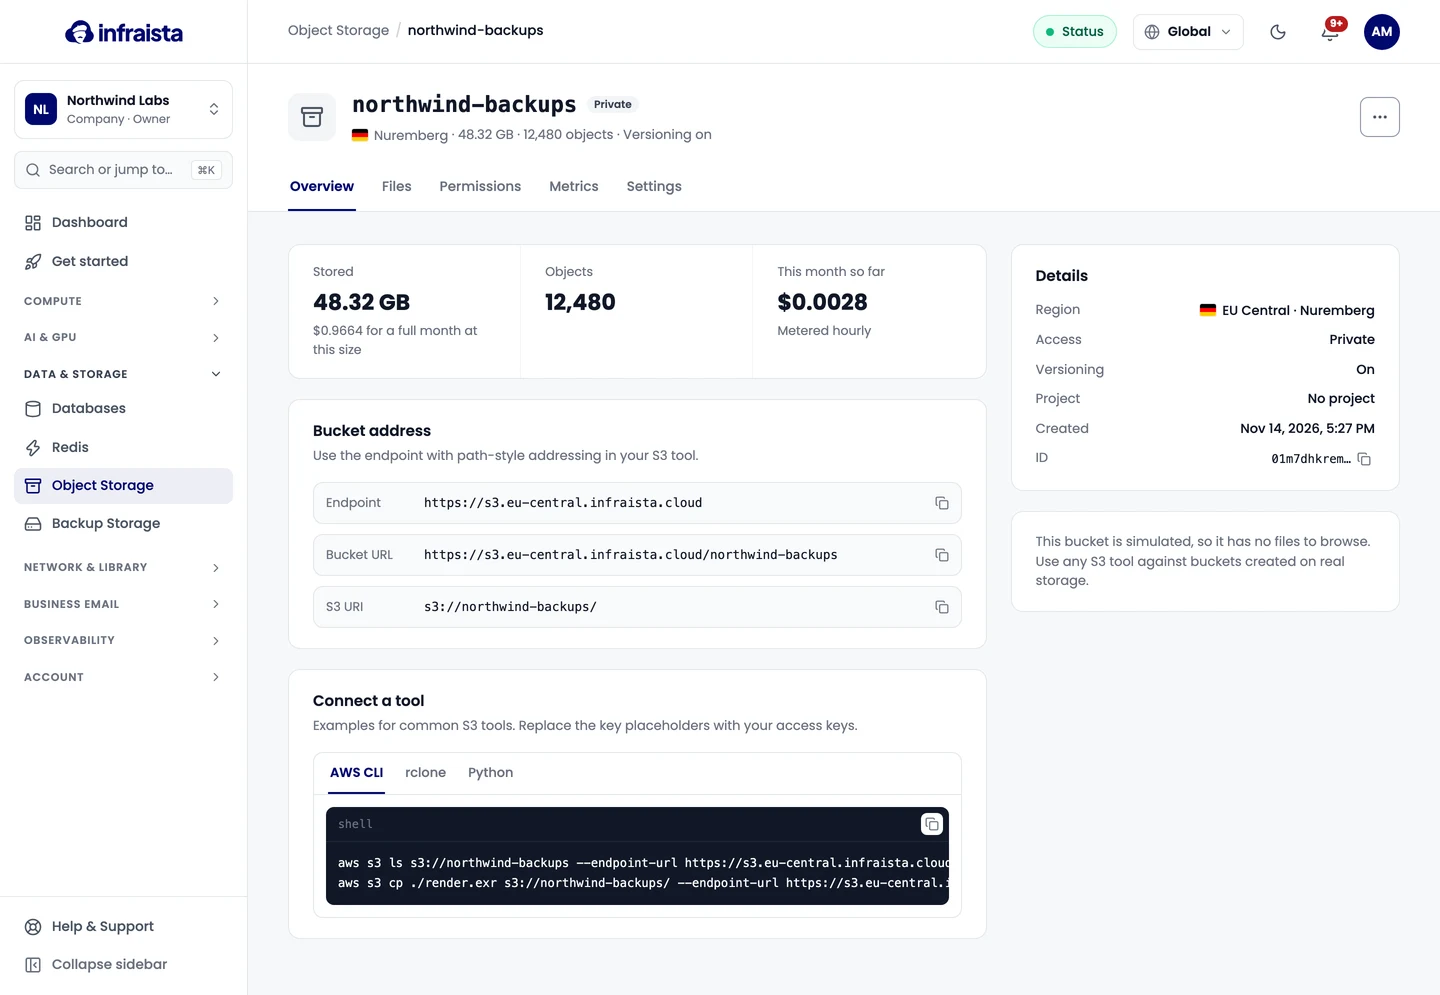
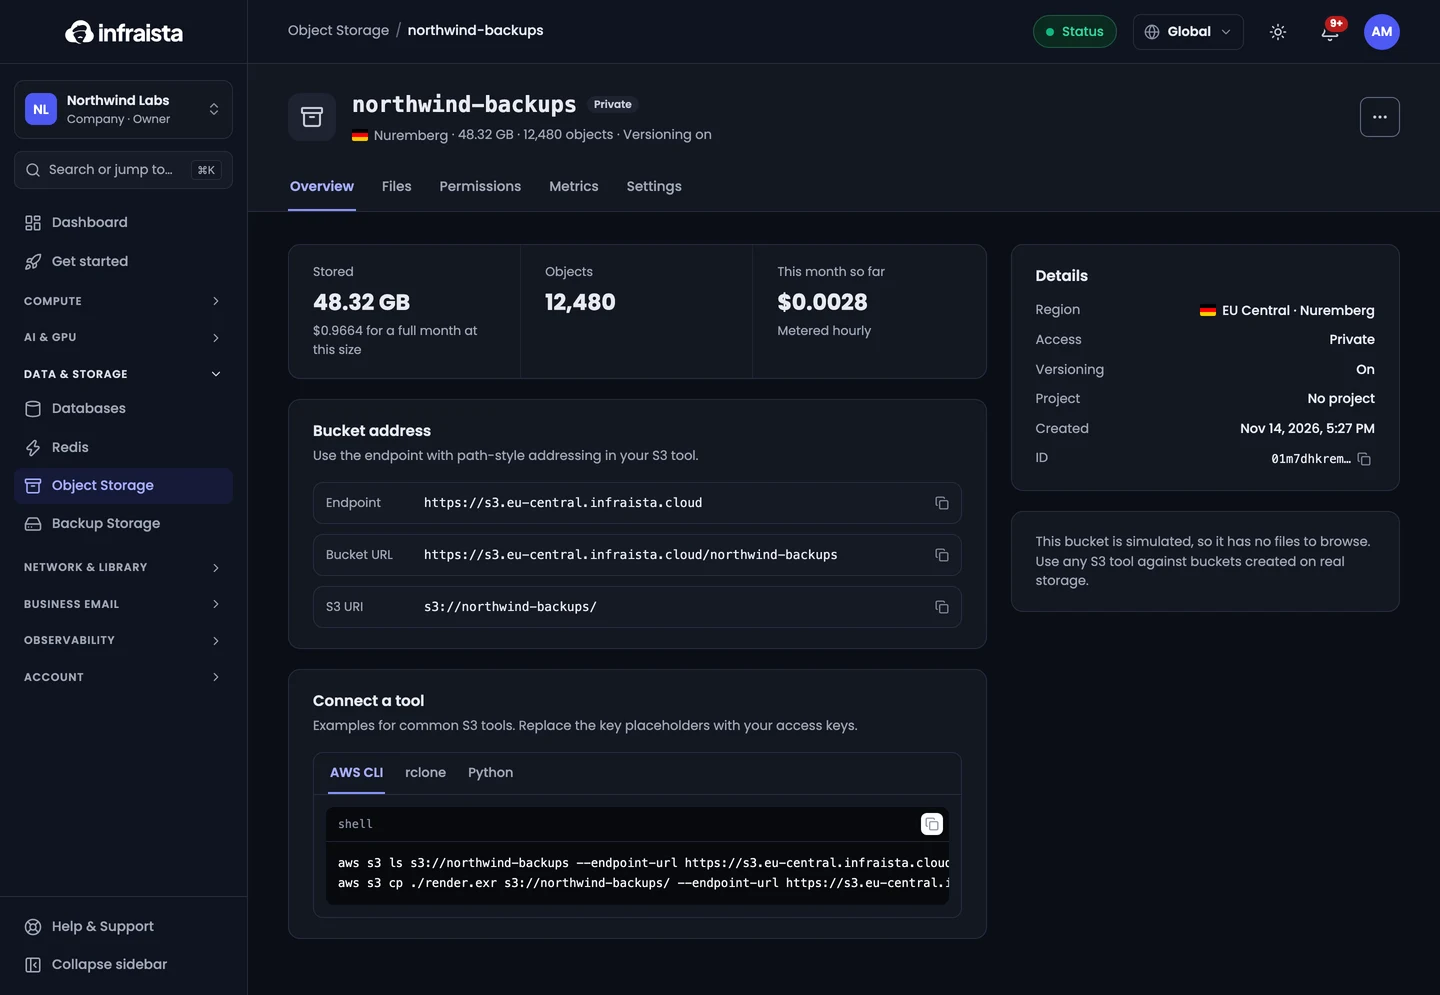
The bucket is ready a few seconds after you create it. Open it to see its endpoint, bucket URL and S3 URI under Bucket address, and examples for common tools under Connect a tool.
Related
Object Storage
Store files in S3-compatible buckets and reach them with the S3 tools you already use, from the AWS CLI and SDKs to rclone and Terraform.
Create access keys
Create S3 access keys for Object Storage, limit each key to the buckets it needs with read-only or read-write permission, and revoke keys you no longer use.